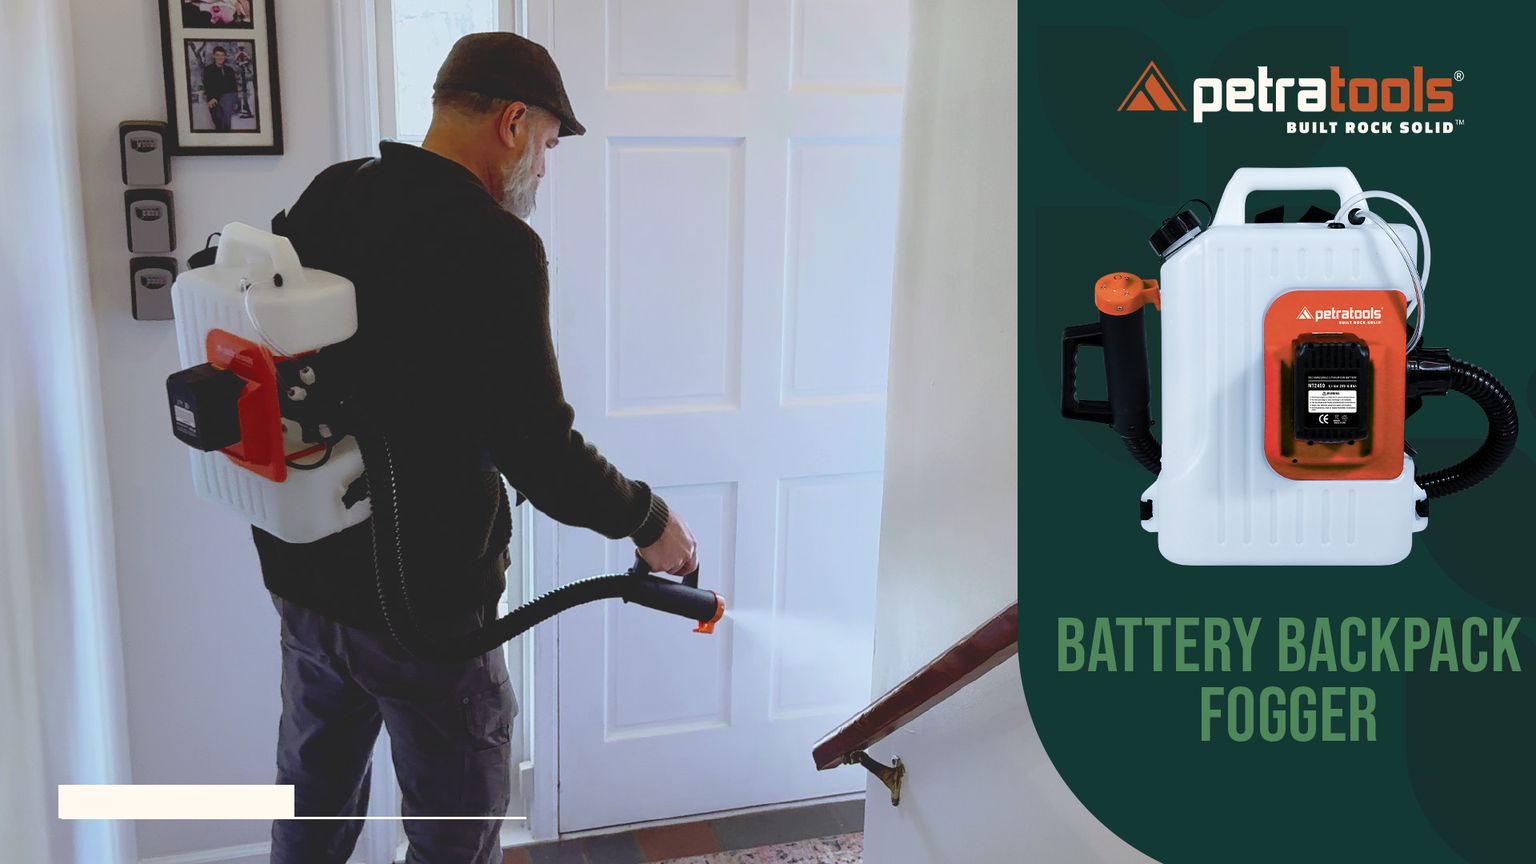
Battery Powered Backpack Fogger
What’s in the box?
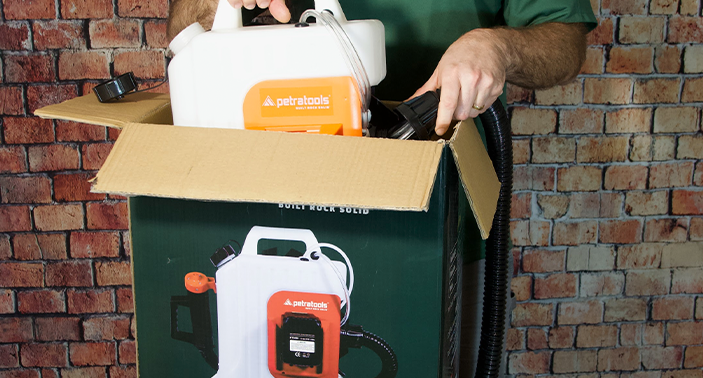
Upon unboxing your PetraTools Battery Powered Backpack Fogger, you will find:
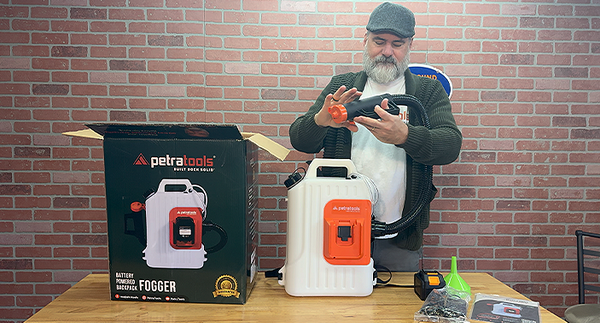
1 PetraTools Battery Powered Backpack Fogger
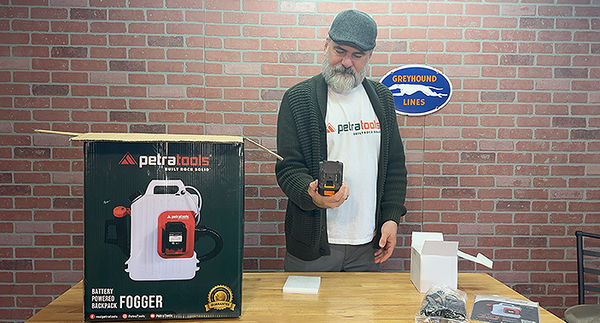
1 24V 5Ah lithium battery
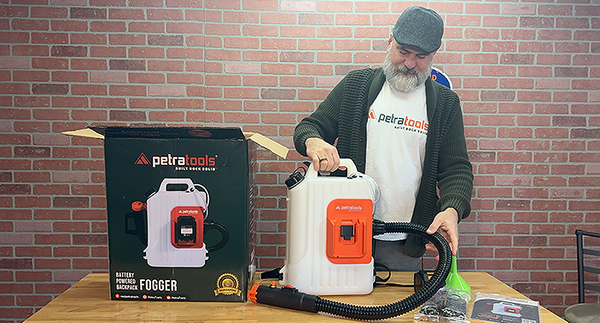
Hose
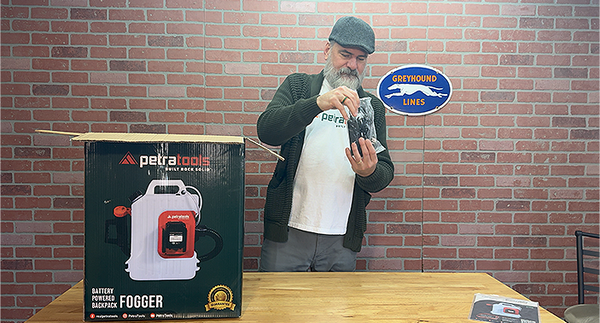
Battery Charger
Manual
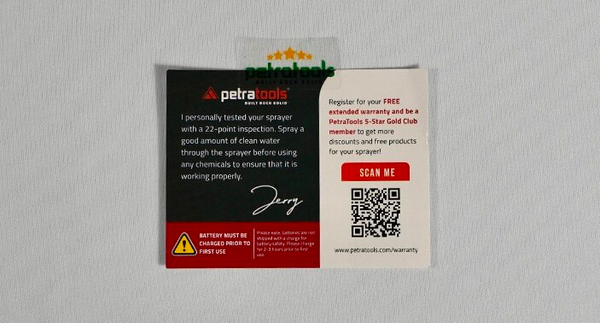
Warranty Card
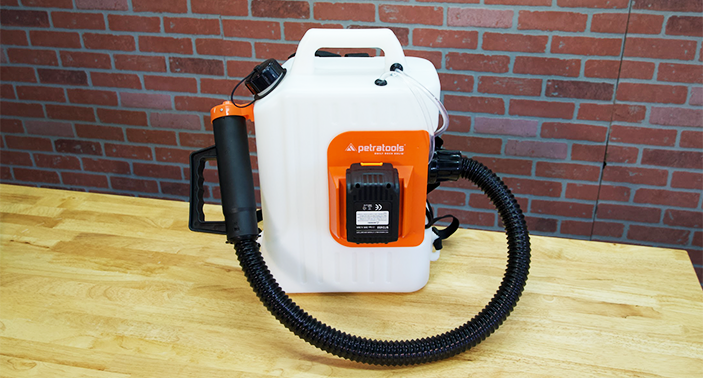
What are the parts of the Battery Powered Backpack Fogger?
Your Battery Powered Backpack Fogger consists of the following main parts:
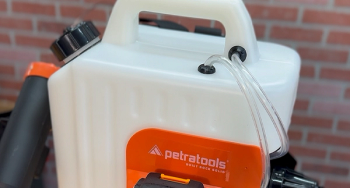
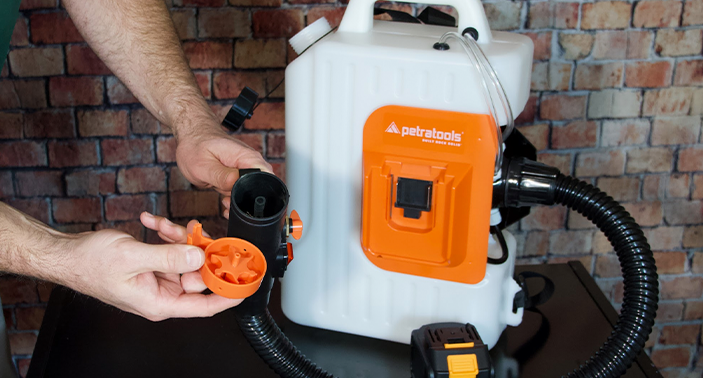
Translucent Tank
Easily view contents and levels for worry-free cleaning solution management.
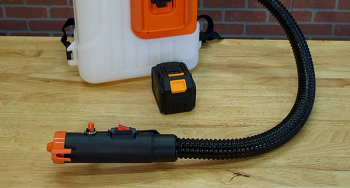
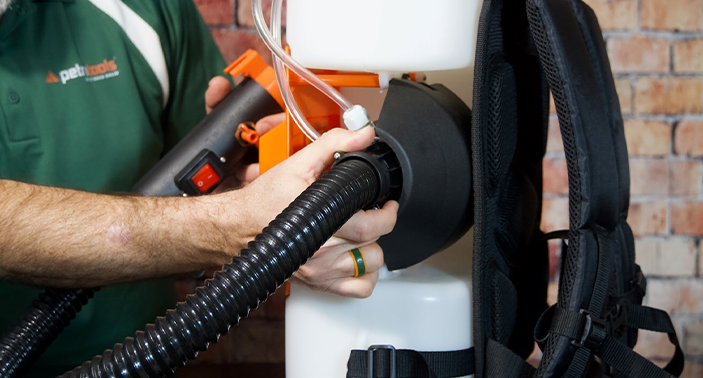
Flexible Hose
Effortlessly reach corners and spaces for easy cleaning.
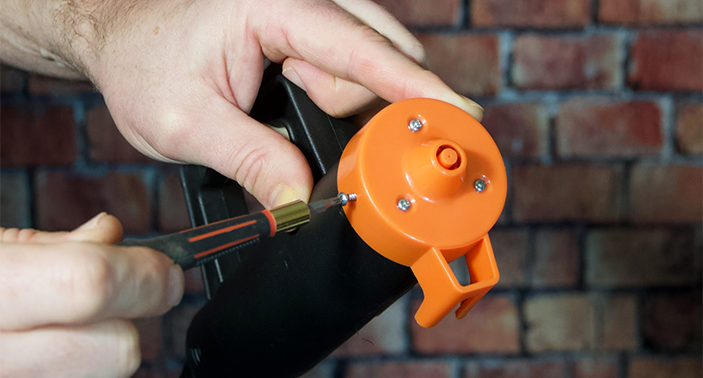
Motor Hood
Reliable protection for your fogger, ensuring smooth operation.
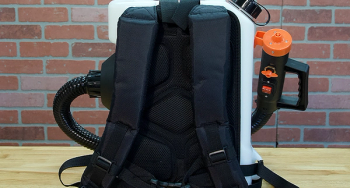
Straps
Adjustable straps for comfort and utility, providing a perfect fit.

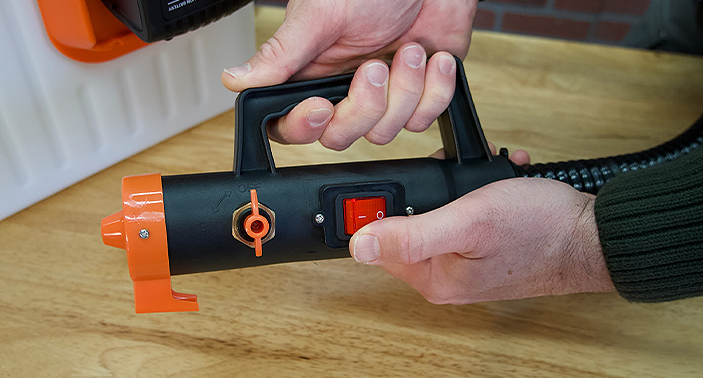
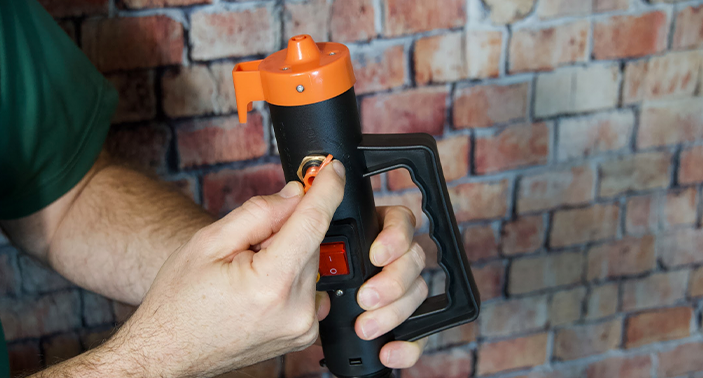
On/Off Switch
Simple operation with an accessible switch, making fogging easy.
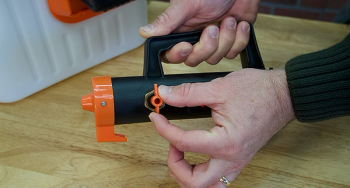
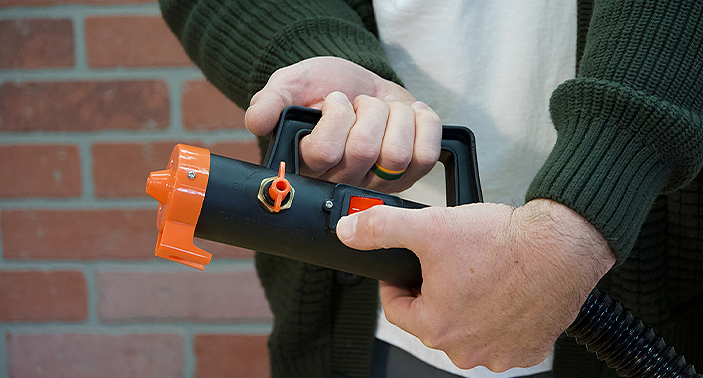
Liquid Flow Valve
Customize fogging intensity with a simple twist.
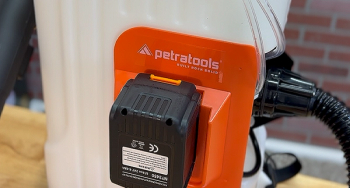
Rechargeable Lithium Ion Battery
Power-packed and long-lasting, fueling your fogging adventures.
How to use the Battery Powered Backpack Fogger?
Learn how to effortlessly operate the Battery Powered Backpack Fogger with our easy-to-follow user guide.
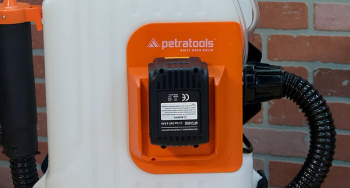
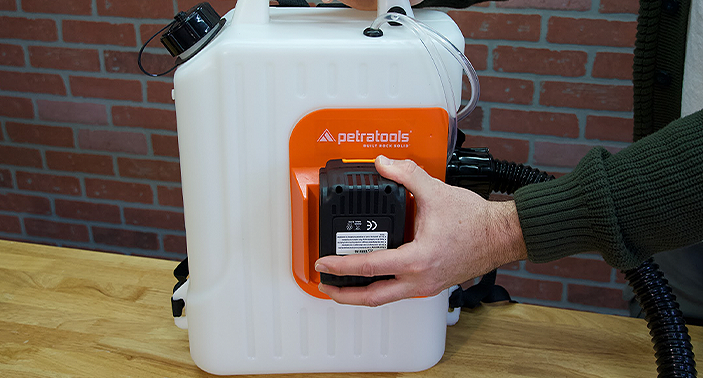
Step 1
Slide the battery into its cradle, with the red release button facing up.
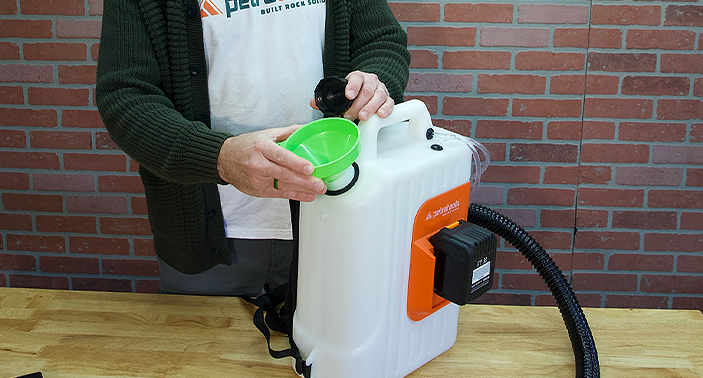
Step 2
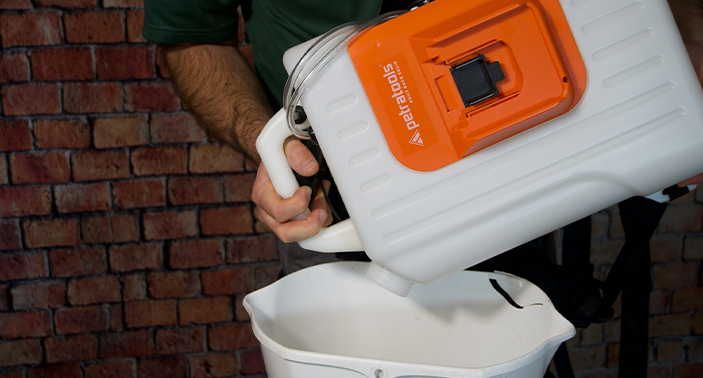
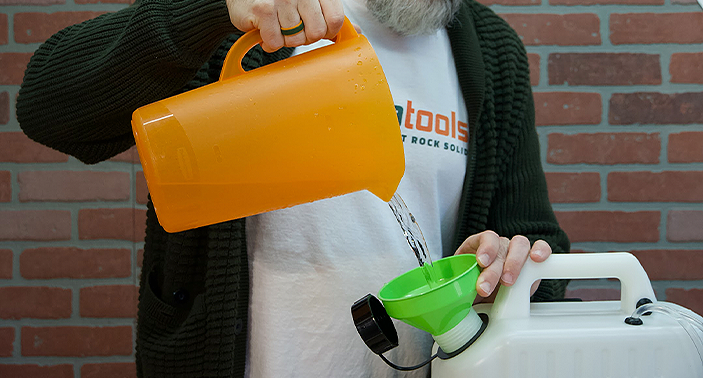
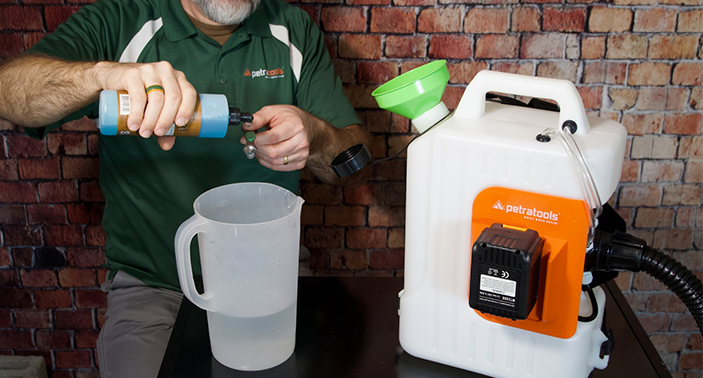
To minimize the risk of spills while filling the fogger, use a liquid funnel to add the solution of your choice into the fogger mouth.
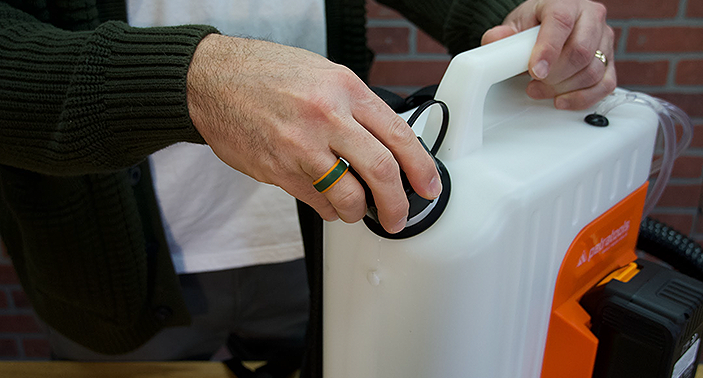
Step 3
Screw the tank lid lightly to prevent leaks.
Step 4
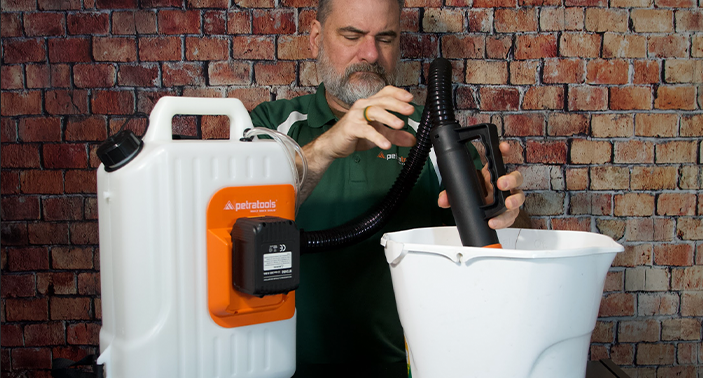
Flip the red power switch on the handle to the ON position. The motor will start running.
Step 5
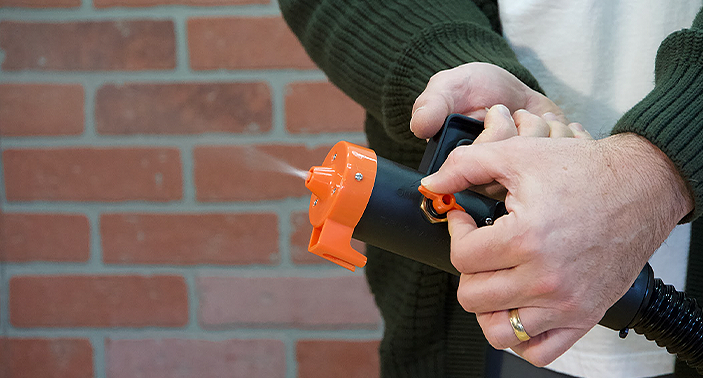
Turn the orange liquid adjust valve counterclockwise to begin spraying.

Step 6
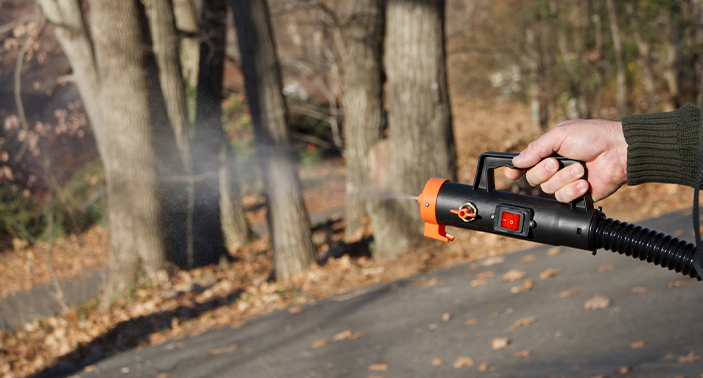
Small adjustments to the orange liquid adjust will change the volume of liquid that you spray. Dial in the setting that works best for the task at hand.
Step 7
After fogging, make sure to turn off the orange liquid adjust valve first, then turn off the red power switch to protect the motor from burnt in case of chemical backflow.
Troubleshooting your Battery Powered Backpack Fogger
Use our troubleshooting guide to fix common problems with the Battery Powered Backpack Fogger. Don't let a malfunctioning fogger keep you from your chores!
Step 1
Low-Pressure Output
If the sprayer is not outputting enough pressure, check the nozzle for blockages or debris. Remove the nozzle and clean it thoroughly before reattaching it to the sprayer. If the problem persists, check the hose for kinks or obstructions that may be restricting the flow of the material. If necessary, replace the hose with a new one.
Step 2
Leaking Seals
If you notice leaks around the seals, check the seals for damage or wear. Replace any damaged seals with new ones. Use Teflon tape to ensure a snug fit and leak-free connection.
Step 3
Clogged Filter
If the sprayer is not outputting any material, check the filter for blockages or debris. Remove the filter and clean it thoroughly before reattaching it to the sprayer. If the problem persists, check the hose for kinks or obstructions that may be restricting the flow of the material.

Step 4
Loss of Pressure
If you notice a sudden loss of pressure, remove the wand and check for blockages or debris. If necessary, clean the wand thoroughly or replace it with a new one. Check the hose for kinks or obstructions that may restrict the flow of the material. If necessary, replace the hose with a new one.
How To Clean your Fogger?
Maintaining a clean Backpack Fogger will keep it in good working order. Here's how:
Step 1
Release the pressure: Before cleaning the fogger, release the pressure by turning the release valve counterclockwise. This will prevent any accidental spraying or injury.
Step 2
Empty the tank: Once the pressure has been released, empty any remaining material from the tank into a suitable container. Be sure to dispose of the material properly according to local regulations.
Step 3
Flush the tank and hose: Fill the tank with clean water and attach the fogger to a hose or faucet. Turn on the water and spray the water through the nozzle until the water coming out is clear. This will flush out any remaining material from the tank and hose.
Step 4
Dry the fogger: Once everything has been cleaned, empty any remaining water from the tank and hose. Allow the fogger to air dry completely before storing it away.
How To Prime the Pump?
Priming your Battery Powered Backpack Fogger is quite easy. Just follow these two steps:
Step 1
Add 2 gallons of warm soapy water into the tank.
Make sure that you use warm water and that you are adding the right amount of soap. Ideally, you should add around 1-2 teaspoons of liquid soap.
Step 2
Close the lid and turn on the unit.
Make sure that you have tightly closed the lid. Depending on what's causing the issue, you could have flow coming out of your hose within a few seconds to a few minutes.
How To Prepare your Fogger for Winter Storage?
Before you put your sprayer away for the winter, there are a few things you should do to make sure it’s in good shape for next season.
Step 1
Run 2 gallons of warm water mixed with 2 teaspoons of liquid dish soap through the unit to clean all internal parts, then run through 1 more gallon of warm water only. Spray until the unit, wand & hose are fully empty.
Step 2
Place the unit right-side-up in the warmest storage possible. Do not store long-term in temps below 32°F.
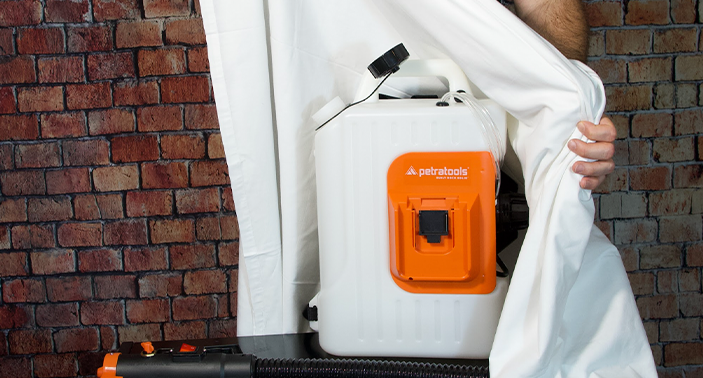
Step 3
Storage in its original closed box is ideal, but if that’s not an option, you can cover it with a canvas or plastic tarp to protect it.

GOLD CLUB.
Become a member of our Gold Club and get exclusive benefits only available to Members like extended warranties, free products, community access and more.
Explore furtherFREQUENTLY ASKED QUESTIONS
HOW DO I CONTACT YOU?
Our customer success team can be reached at 1-800-613-6889; 7 days a week.
Monday-Friday: 8 AM-12 MN EST
Saturday & Sunday: 9 AM-5 PM EST, or reach out to us via email at support@petratools.com
You agree to receive follow-up text messages and calls by calling or texting this number. If you no longer wish to receive text messages or calls, you may opt-out at any time by replying "STOP"
HOW LONG DOES IT TAKE TO DELIVER?
Orders typically ship within 2 business days and arrive 3-5 days after shipment.
WHERE ARE YOU LOCATED?
We are located in central Pennsylvania.
IS THERE A WARRANTY ON EACH ITEM?
PetraTools provides a standard 3-month full warranty for manufacturer defects. If customer registers for extended warranty, PetraTools provides an additional 3 months limited warranty. Limited warranty covers replacement units due to manufacturer defects (shipping paid by customer).
PetraTools sprayers are available for free returns for 30 days post-purchase. All other chemicals and solutions are not eligible for returns or exchanges at this time. Please contact Customer Service if you have received a damaged product so we can replace it for you.
Otherwise, we ask that you be kind to our planet and share any unwanted orders with a neighbor or friend.