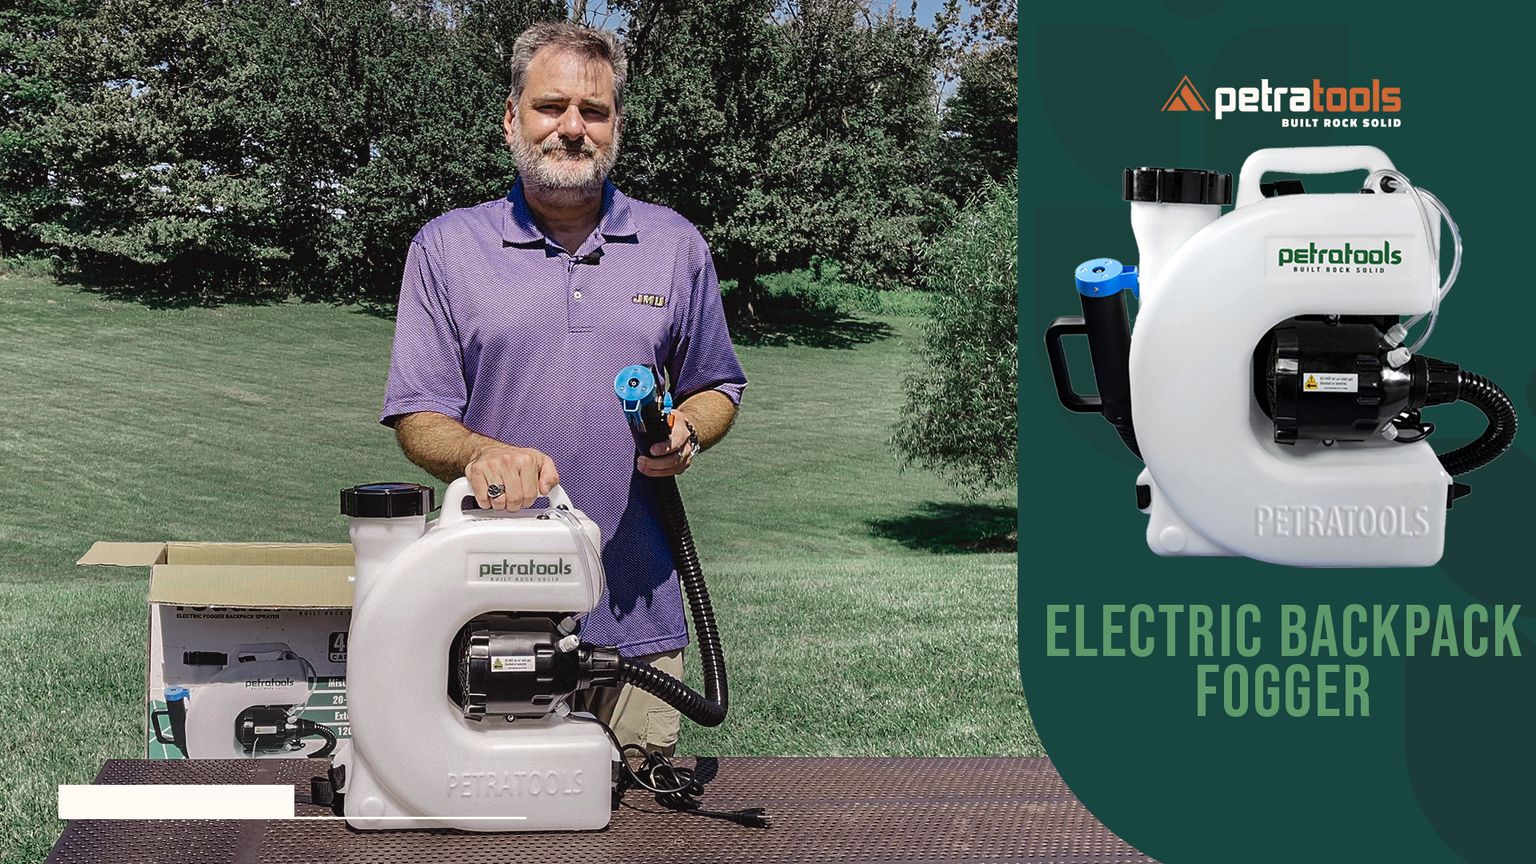
Electric Backpack ULV Fogger
Table of Contents
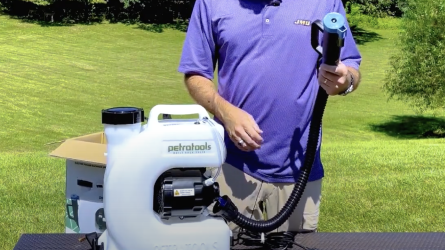
What’s In The Box?
The following are included when purchasing the Electric Backpack ULV Fogger:
Hose & C-shaped unit
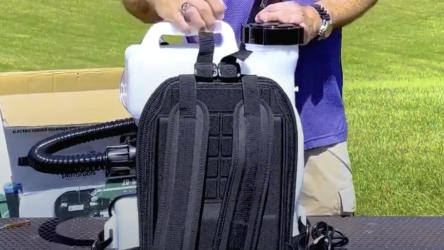
Backpack Straps
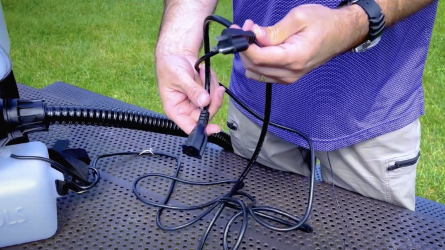
Cords
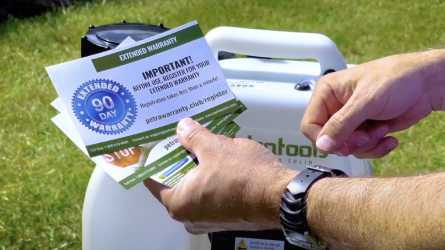
Extended warranty card
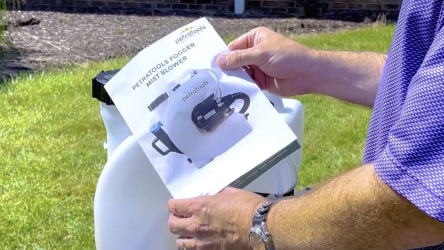
Full-color manual
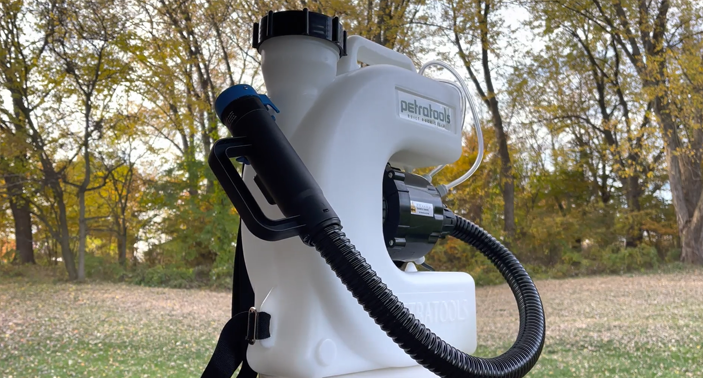
What Are The Parts Of Electric Backpack ULV Fogger?
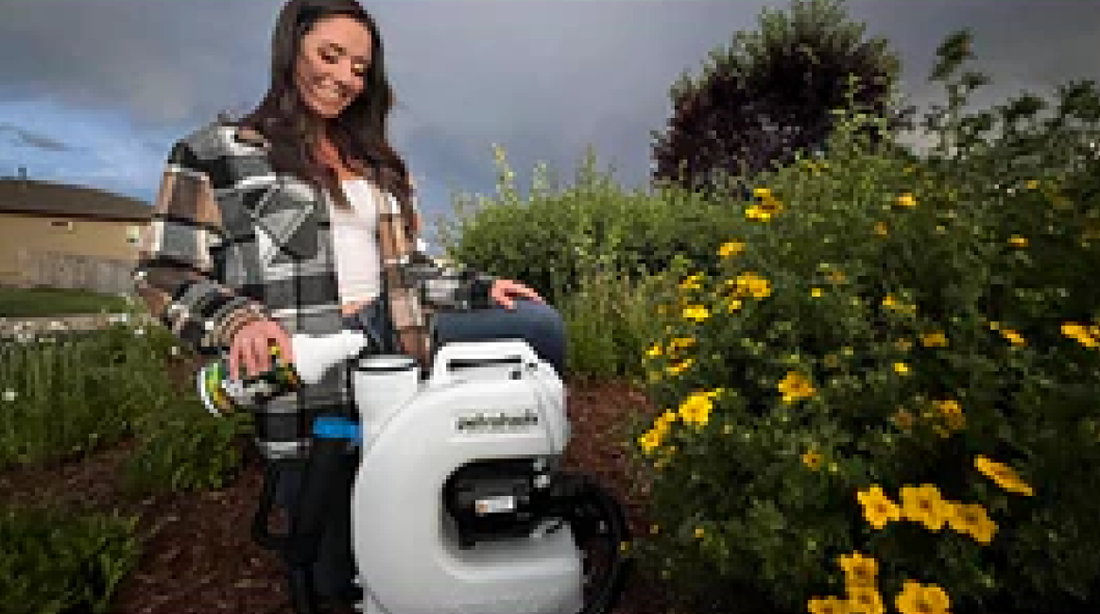
The electric backpack ULV fogger is a versatile and powerful tool that can be used for a variety of applications, including pest control, sanitizing, and disinfecting. But what exactly are the parts of this handy machine? Let's take a closer look.
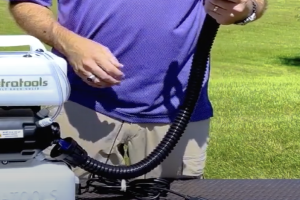
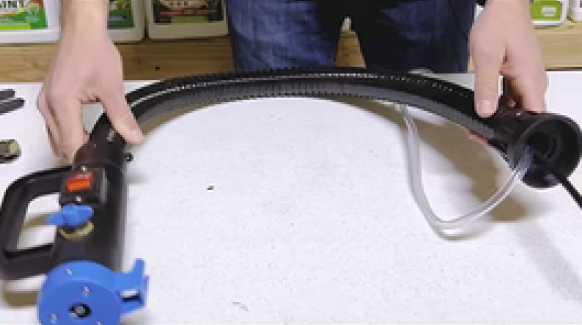
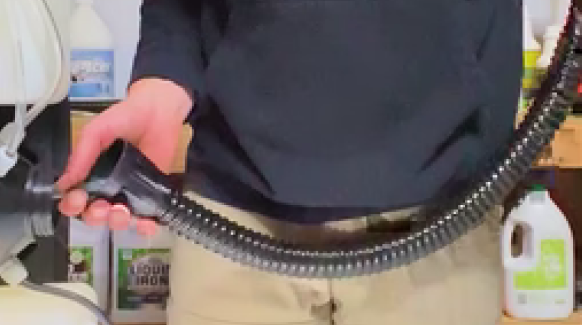
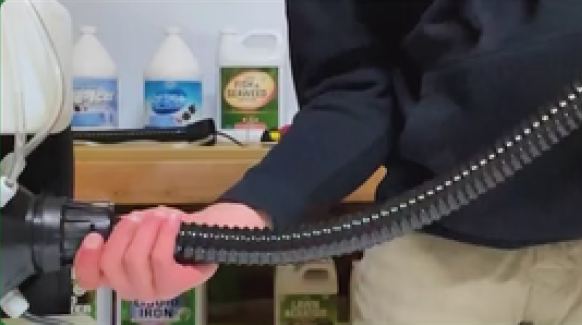
Hose
The hose is one of the most important parts of the fogger, as it is responsible for delivering the chemicals or solutions to be sprayed. The hose is made out of durable material and is connected to the attachment point on the side of the unit.
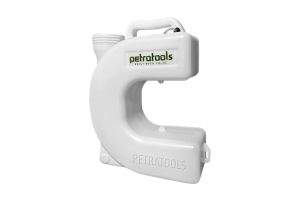
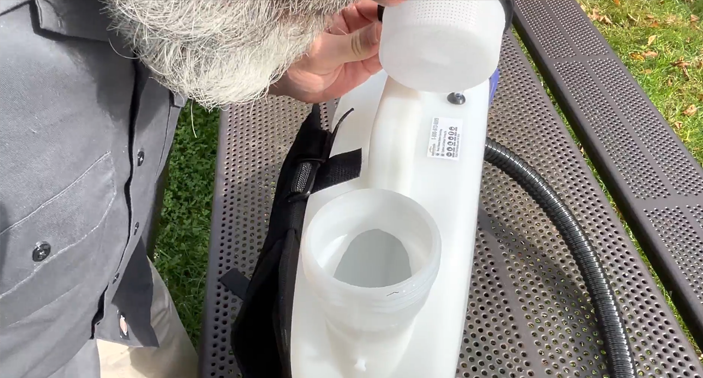
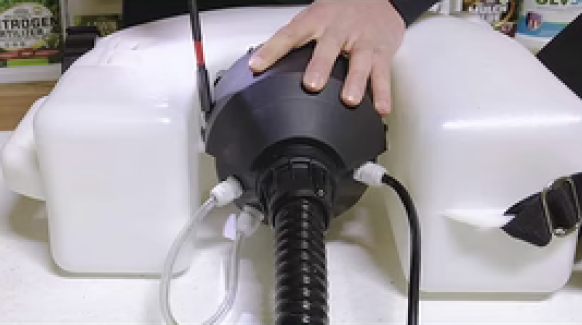
C-shaped Tank
The C-shaped tank is where the chemical solution or water is stored. This part of the fogger is made out of durable material as well to ensure that it can withstand the chemicals being sprayed.

Lid
The lid is placed on top of the C-shaped tank and helps to prevent any spillage or leaks. The lid is also responsible for keeping the chemicals in the tank from evaporating.

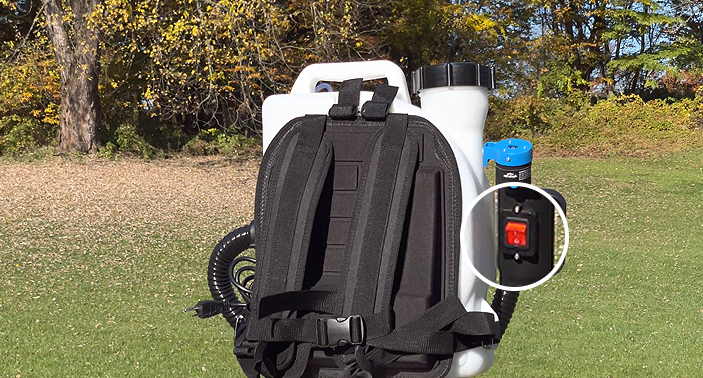
Backpack Straps
The backpack straps are what allow the fogger to be worn on your back, making it easy to carry and use. These straps are padded and adjustable to ensure a comfortable and secure fit.

Strainer
The strainer is a small plastic screen that is placed on the mouth of the fogger. This screen helps to prevent any clogging of the nozzle and ensures a smooth and even spray.
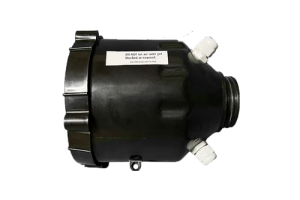
Electric Motor
The electric motor is responsible for powering the fogger. This motor is connected to the battery pack and provides the power needed to run the fogger.
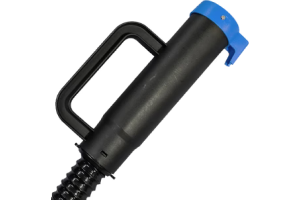
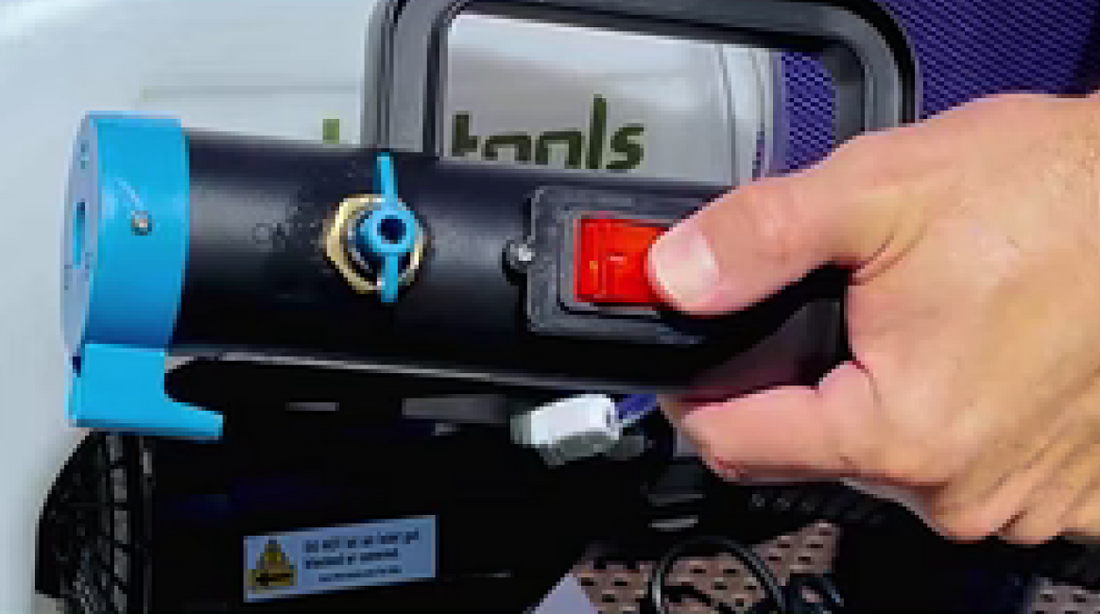
Hose Handle
The handle on the hose has two controls - a red rocker switch and a mist control switch. The red rocker switch is responsible for turning the fogger on and off. The mist control switch allows you to adjust the output of the fogger.
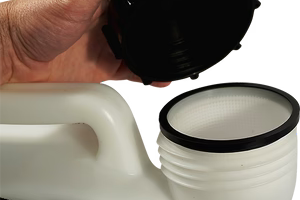
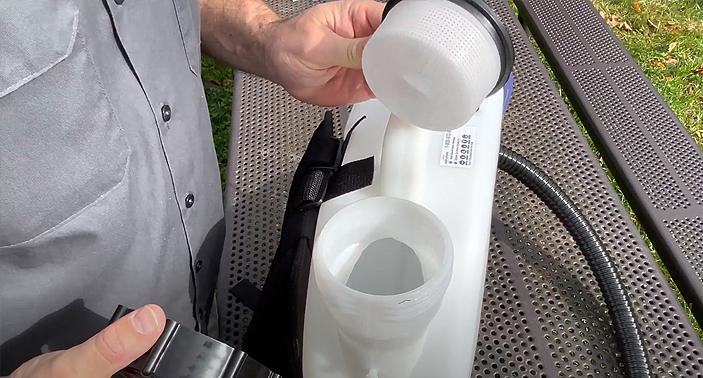
Large Mouth Opening
The large-mouth opening is where you pour the chemical solution or water into the C-shaped tank. This opening is large enough to accommodate most standard-size bottles. This also allows you to flush it out quickly once done using it.

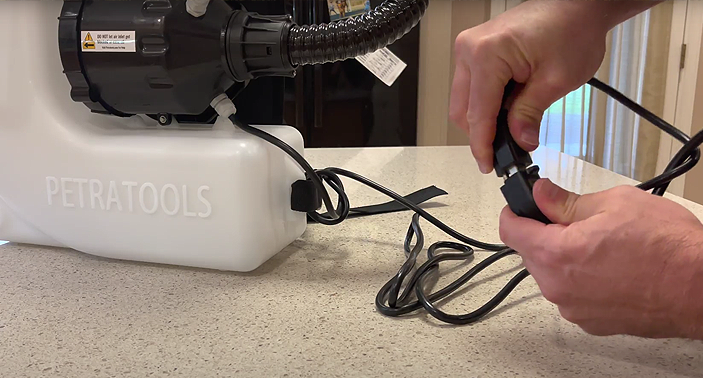
Cord
The cord is what connects the fogger to the power source.
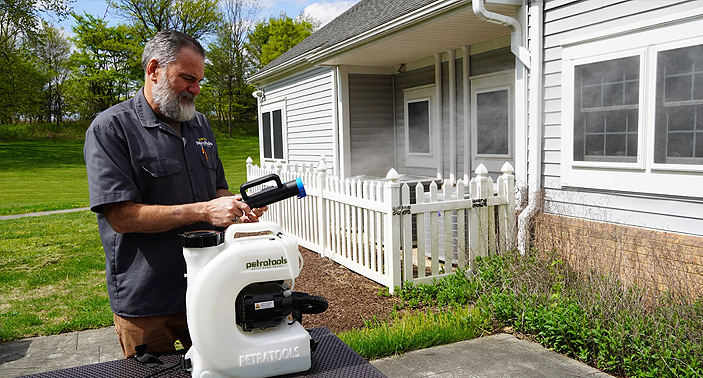
How to Use the Electric Backpack ULV Fogger?
The electric backpack ULV fogger is a versatile and powerful tool that can be used for a variety of applications, including pest control, sanitizing, and disinfecting. But what exactly are the parts of this handy machine? Let's take a closer look.
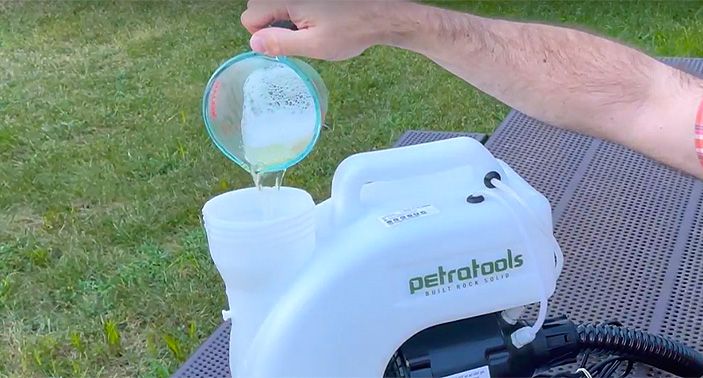
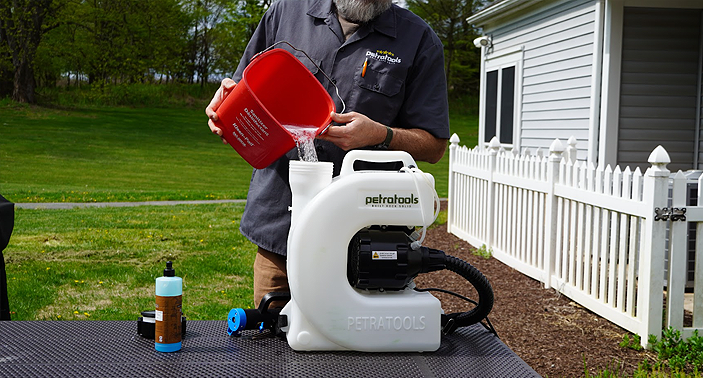
Step 1
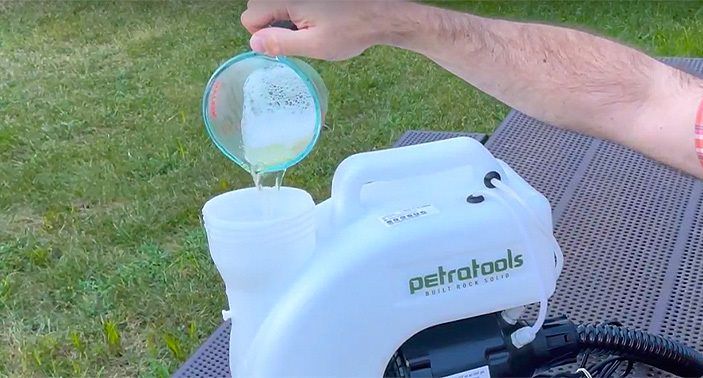
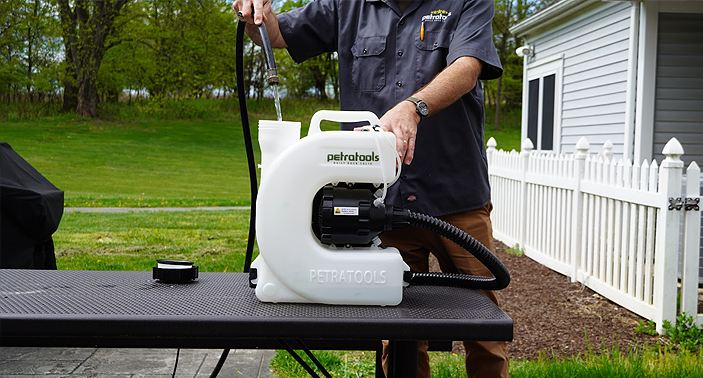
Pour the Solution
To use the backpack ULV fogger, first, you need to pour the solution into the tank. Make sure to follow the dilution ratio that is specified by the manufacturer to get optimal results. Once the solution is in the tank, screw on the lid tightly to prevent any accidental spills.
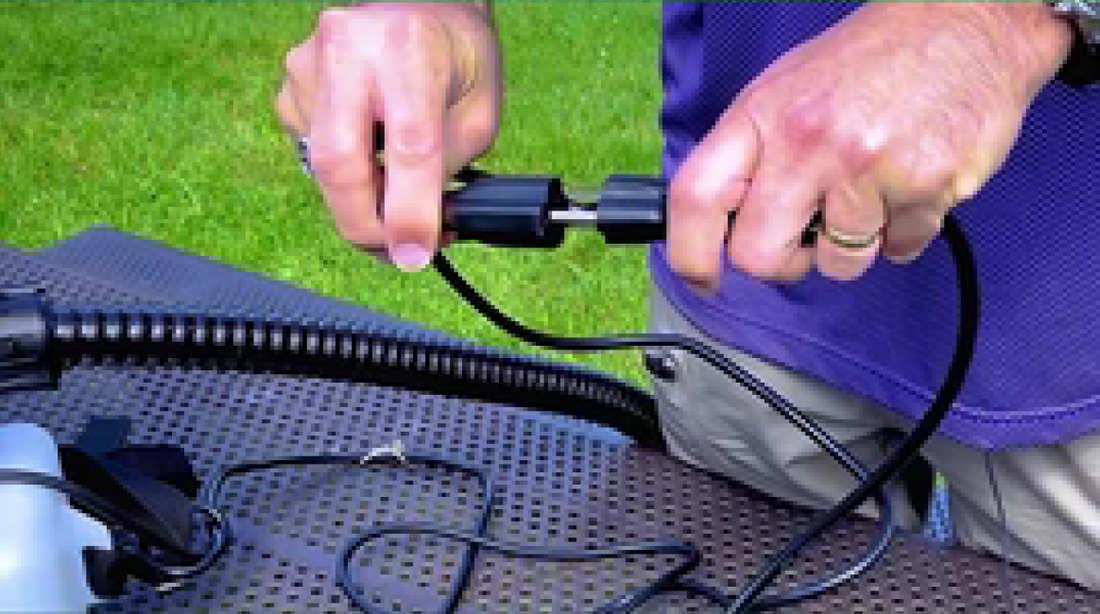
Step 2
Plug It In
Next, you need to plug the backpack ULV fogger into an electrical outlet. Once it is plugged in, turn on the power switch to start the machine. For safety purposes, tie a knot where the base of the frame meets the backpack strap. Loop the cord around pull it snug.
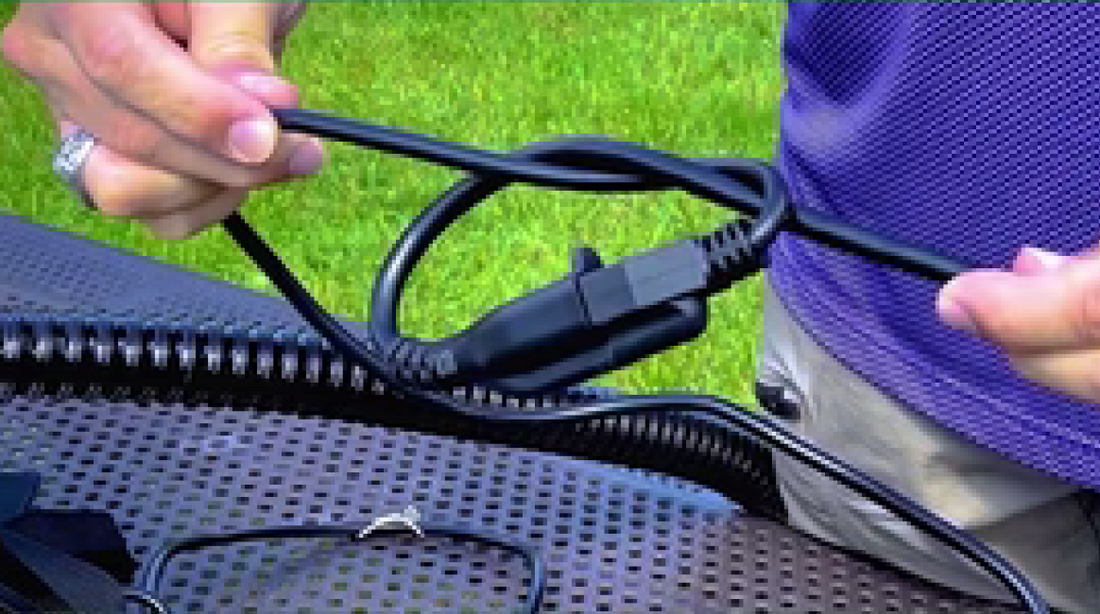
Step 3
Extension Cord
When using an extension cord, make sure to tie a knot between the two cords before you start.
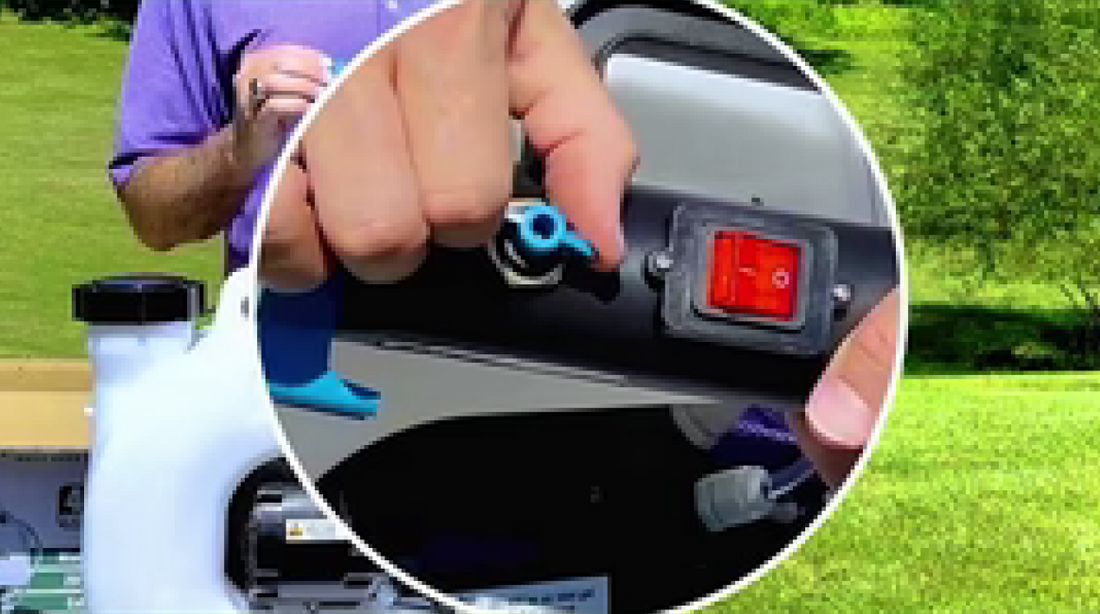
Step 4
Turn On the Red Rocker Switch
After the machine is plugged in and turned on, locate the red rocker switch. Once you find it, turn it on to start the flow of the solution.

Step 5
Adjust the Size of the Droplets
Once the red rocker switch is turned on, the droplets will start to come out of the nozzle. The size of these droplets can be adjusted using the knob located above the trigger. For smaller droplets, turn the knob to the left and for larger droplets, turn it to the right.
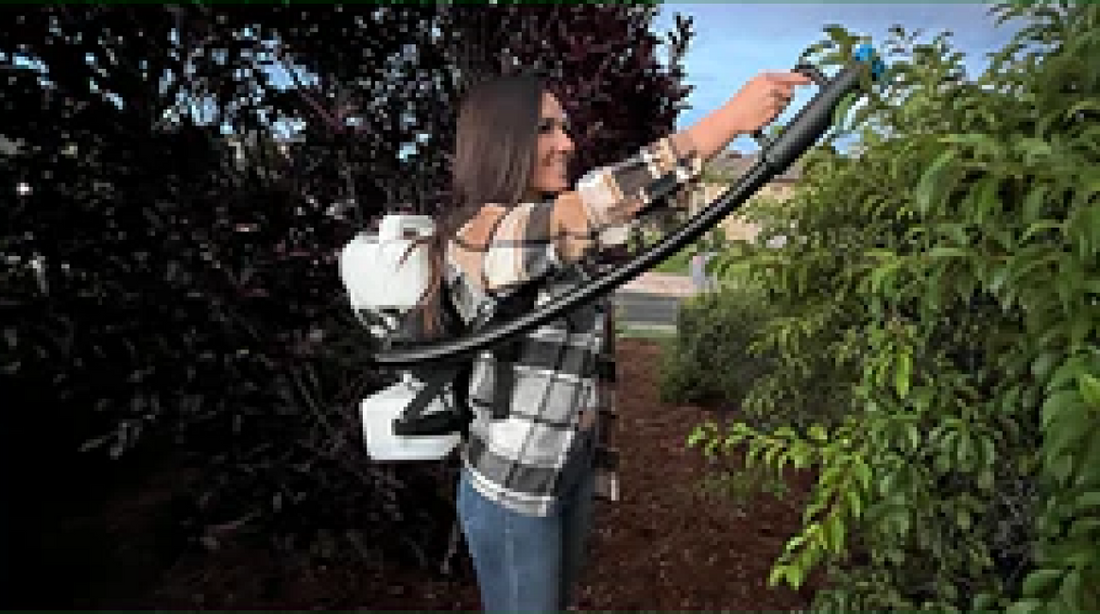
Step 6
Start Fogging
Now, you are ready to start fogging. To do this, simply hold down the trigger and start moving around the room. Make sure to keep the nozzle about 1-2 feet above the ground so that the mist can evenly cover the area. Also, try to move at a steady pace so that you don’t miss any spots.
Step 7
Stop Fogging
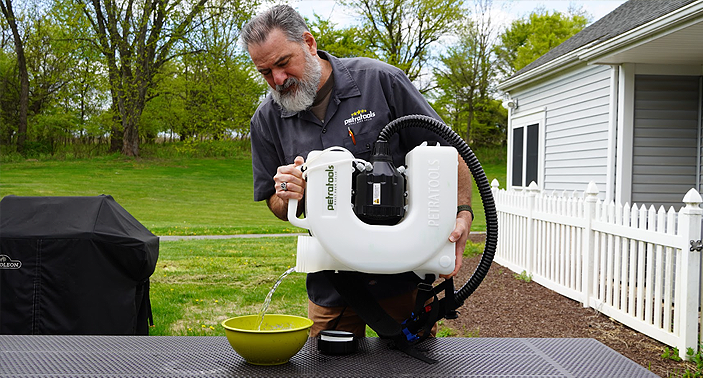
When you are done fogging, release the trigger and turn off the red rocker switch. Then, unplug the backpack ULV fogger from the electrical outlet. Finally, remove the lid from the tank and pour out any remaining solution.
Video

Troubleshooting your Fogger
If you've tried turning the ULV Backpack Fogger on and it doesn't work, do this:
Check the switch.
When not in use, make sure that the power switch is turned off.
Check the wiring.
Ensure that all the wiring is connected correctly and there are no loose wires or damaged components.
Look for leaks.
Inspect the solution tank and other components for leaks. If you find any leaks, repair or replace the affected components.
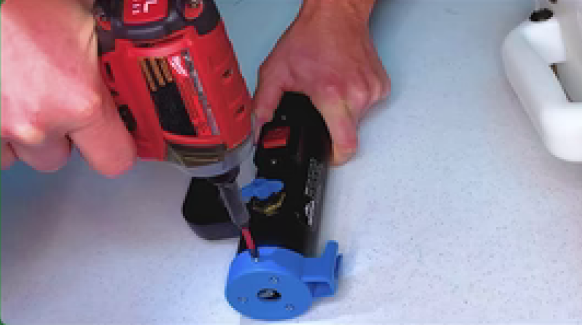
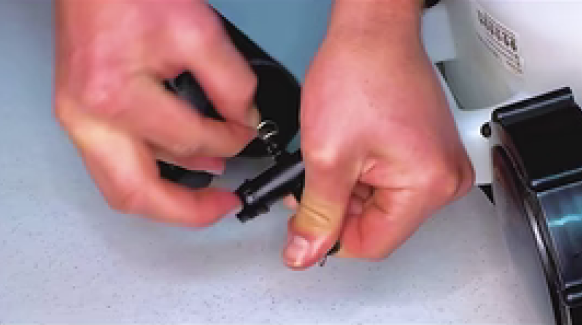
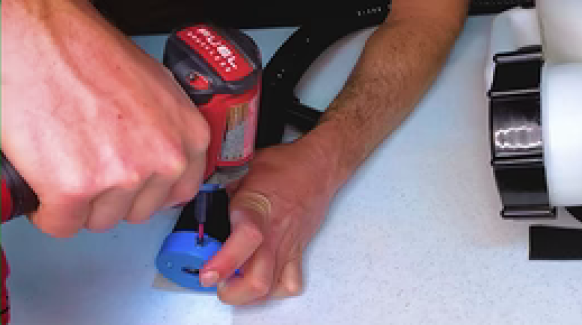
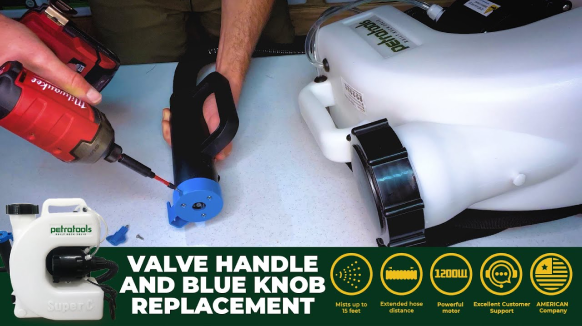
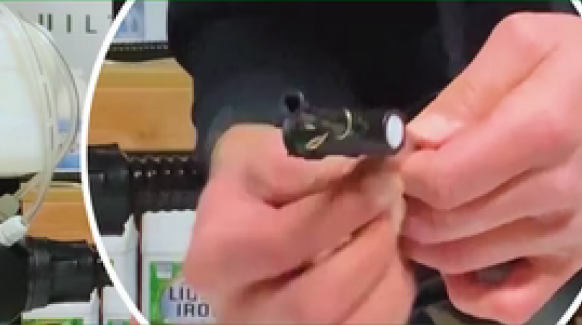
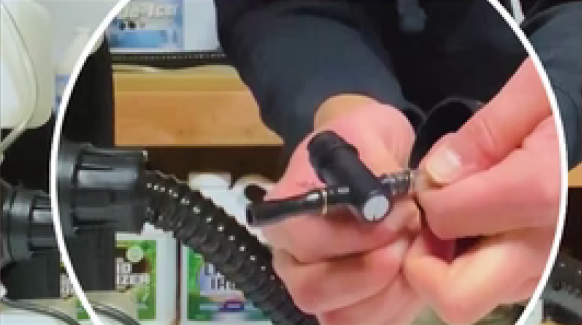
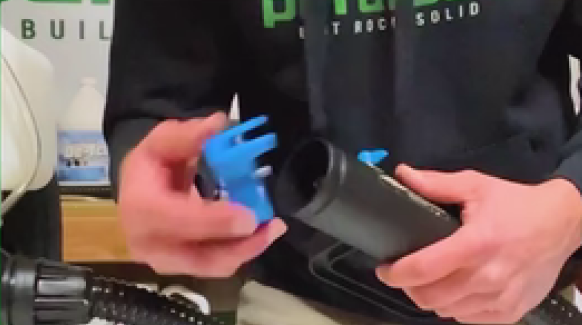
How to Replace Valve Handle and Blue Knob?
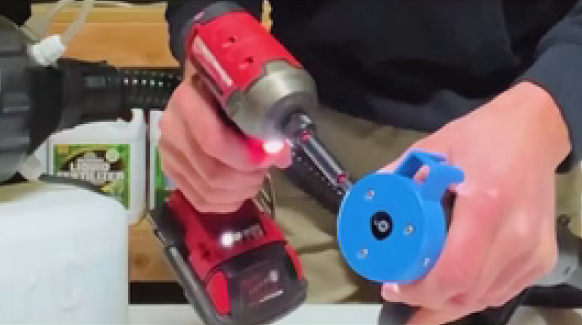
Step 1
Remove the three Phillips head screws. The first one is in the blue knob itself and the other two is on the nozzle.
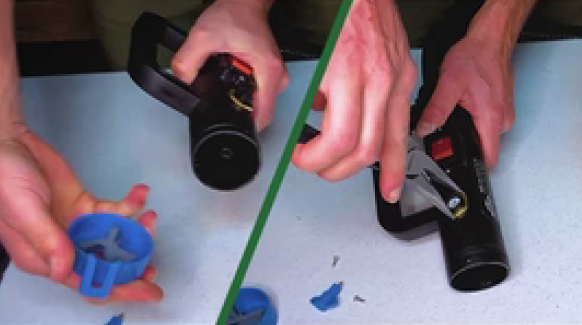
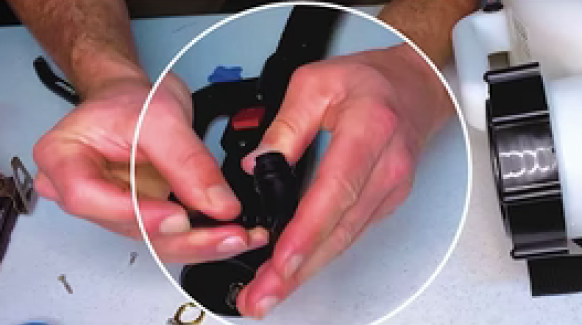
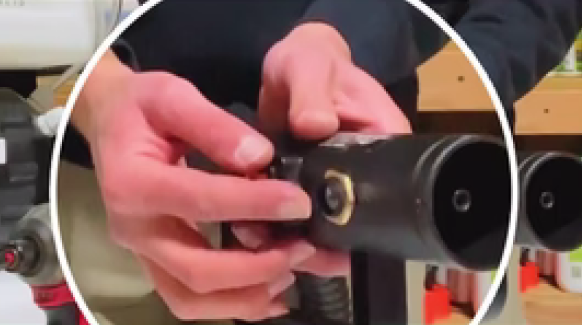
Step 2
Pop up the nozzle and then take off the little brass ring. Using a pliers can do the job easier.
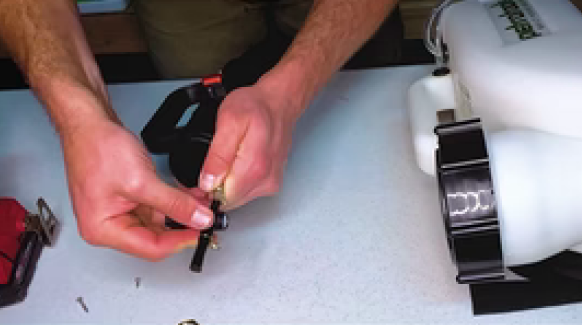
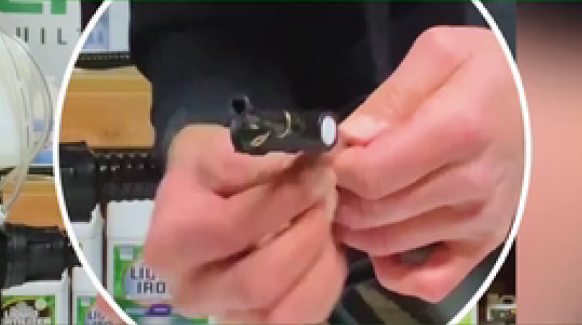
Step 3
Push the valve inside and then grab it from there.
Step 4
Take off the hose clamps from the valve, then pull it off for the valve to come out. Ideally, you should stick a pair of pliers into the hose as it tends to get hard to pull it out again.
Step 5
Similarly, take the end of the little hose in the valve and pull it off.
Step 6
To reassemble the valve, stick the hose that you took off and then put the clamp.
Step 7
Put the hose inside the valve. Make sure that the black hole is pointing towards the nozzle.
Step 8
Stick that attached valve inside the hose, while making sure that the handle is right on spot.
Step 9
Secure that little brass ring and then screw the blue knob.
Step 10
Finally, screw the nozzle and you’re ready to go.
Video
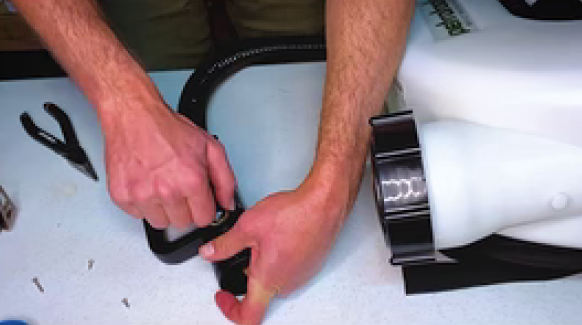
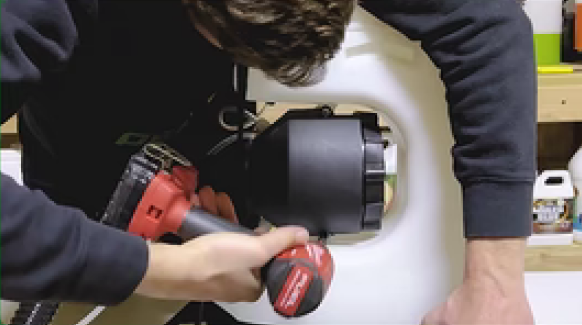
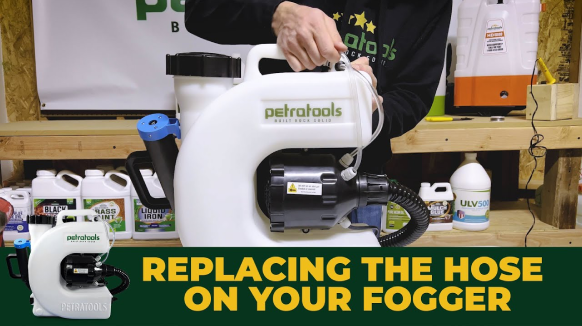
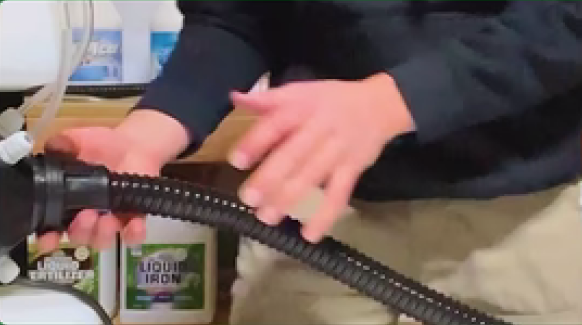
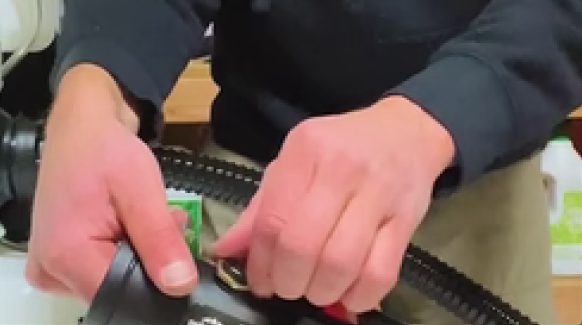
How to Replace the Hose?
Step 1
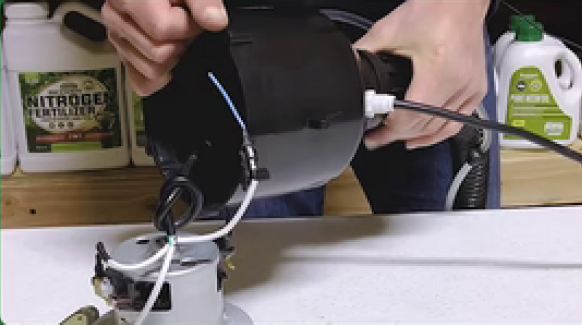
Detach Motor From the Tank
To detach the motor from the tank, remove the hoses first and then remove the beck padding.
Remove the screws that attach the motor from the tank.
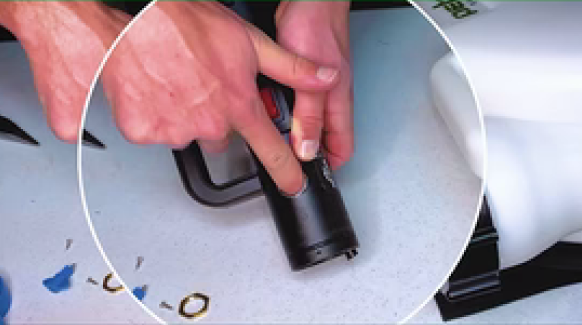
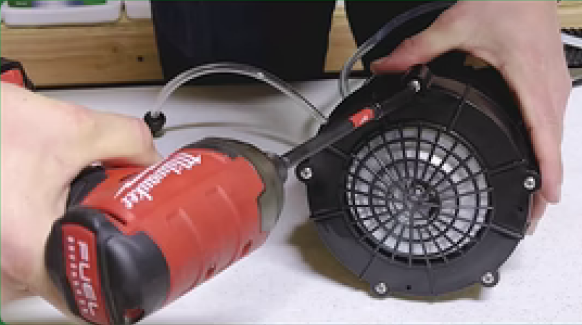
Step 2
Take Off the Cover of the Motor
Take the 5 screws using a Philips head screw and then remove the black cover.
Hit the cover a couple of times into the wall until the motor itself comes out.
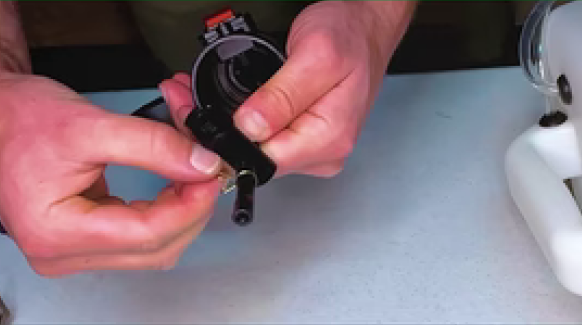
Step 3
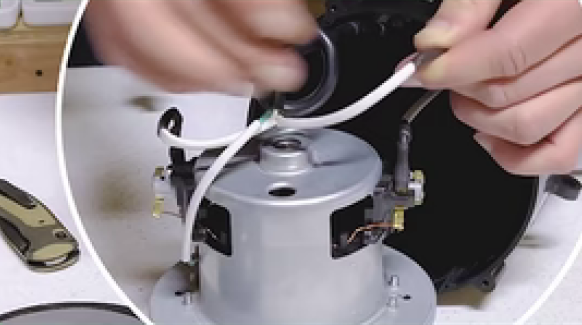
Work on the Wires
Losen the cord to have better access to the wires.
Inside are two black cords. Strip off the black sheathing of the black hoses and then cut the connections.
Step 4
Disconnect the Hose From the Motor Housing
Unscrew the housing from the base and then loosen up the knobs.
Remove the remaining black sheathing from the wires.
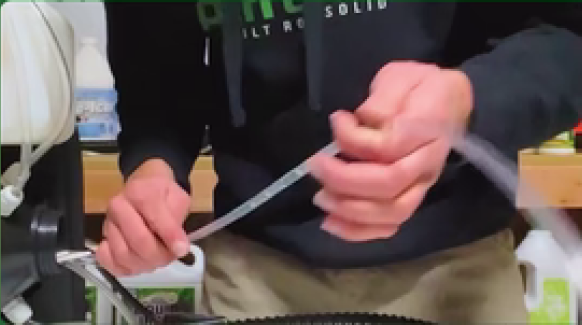
Remove the clear tube as well by getting into the other end. To do this, remove the screws next to the nozzle and then take off the screw which holds the blue knob.
Next, remove the brass ring, then grab the hose inside.
Disconnect the little clamp in the valve to disconnect the clear tube. After that, you should be able to pull the clear tube from the other side already.
Step 5
Install the New Hose
Remove the Phillip head screws in the nozzle and in the blue knob too.
Remove the brass ring and push the valve inside.
Pull that off and remove the little clamp.
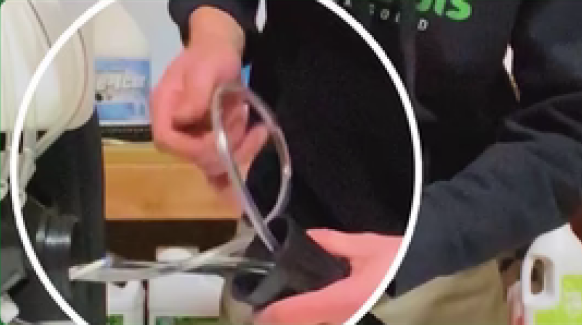
Detach the clear tube.
Insert the clear tube into the motor case all the way to the top. Secure it using the white knob.
Insert the other end of the clear tube into the wide opening of the motor case.
Connect the clear tube into the valve and then put the valve inside the hose. Make sure that it’s placed correctly.
Put the brass ring and blue knob back in place. Secure the blue knob with a screwdriver.
Put the nozzle back, securing it with three screw drivers.
Insert the other hose into the motor house through the white hole. Make sure that the black knob is attached in one of its end.
Reattach the wires by wrapping them together. Secure the wires with an electrical tape as well.
Step 6
Reinstall the Motor
Close the motor with the metal cover first.
Put the rubber ring around it, with the lip in the outer side.
Push everything into place. Using a hammer can make the job easier.
Screw in the web-like cover.

Step 7
Put the Motor Back to the Back
Attach the heat sheet to the motor.
Screw the motor into the tank.
Put the back padding and you’re ready to go.
Video
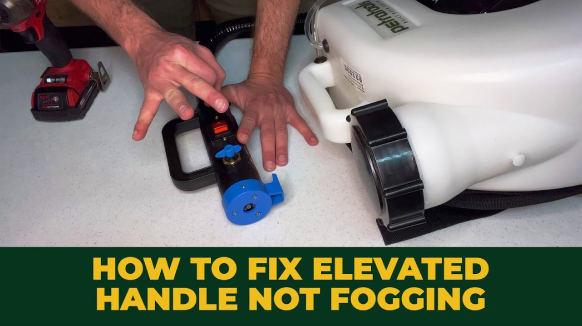
How to Fix Elevated Handle Not Fogging?
Step 1
Take off the nozzle cover by unscrewing it.
Step 2
Remove the blue knob.

Step 3
Remove the brass ring.
Step 4
Take out the nozzle.
Step 5
Remove the nozzle from the hose.
Step 6
Unscrew the hose housing from the motor housing.
Step 7
Check the hose for any kinks.
Step 8
Check the hose for any kinks.
Step 9
Push the hose upward so that you can grab it.
Step 10
Push the hose upward so that you can grab it.
Step 11
Reassemble the nozzle.
Step 12
Attach the brass ring and the blue knob.
Step 13
Attach the nozzle cover.
Video
How To Clean your Fogger?
It is necessary to keep your sprayer clean, especially after use. When your sprayer is clean, it will last longer and work more efficiently. To clean your sprayer, follow these steps:
Step 1
Empty any remaining solution from the tank and rinse it thoroughly with clean water.
Step 2
Fill the tank with a cleaning solution, such as water and vinegar or soap and water.
Step 3
Pump the sprayer to circulate the cleaning solution through the hose and nozzle.
Step 4
Let the cleaning solution sit in the tank, hose, and nozzle for 15-20 minutes.
Step 5
Rinse the tank, hose, and nozzle with clean water and pump the sprayer to flush out any remaining residue.
Step 6
Let the sprayer air-dry, and store it in a cool, dry place.
How To Prime the Pump?
To prime the pump, follow these steps:
Step 1
Add 2 gallons of warm soapy water into the tank.
Add 2 gallons of warm tap water to the tank. To this add 2 teaspoons of liquid dish soap. Shake gently to mix.
Step 2
Tighten the lid and turn on the unit.
Make sure that you have tightly closed the lid. Depending on what's causing the issue, you could have flow coming out of your hose within a few seconds to a few minutes.

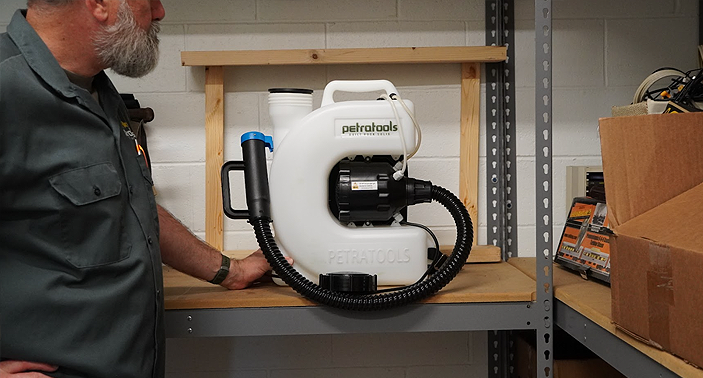
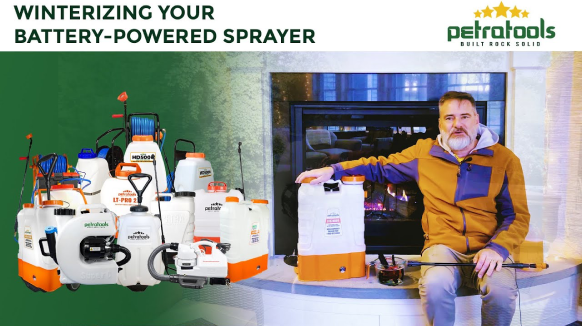
Preparing Your Fogger For Winter Storage
A few simple steps will ensure that your unit will be ready for use when spring finally arrives.
Step 1
Run 2 gallons of warm water mixed with 2 teaspoons of liquid dish soap through the unit to clean all internal parts, then run 1 more gallon of warm water only through. Spray until unit & hose are fully empty.
Step 2
Place unit right-side-up in the warmest storage possible. Do not store long-term in temps below 32°F.
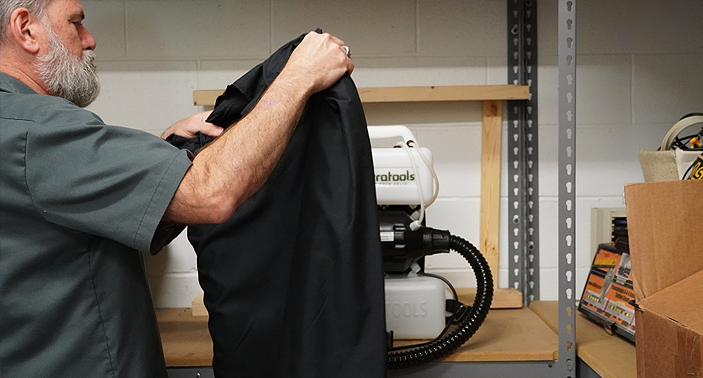
Step 3
Storage in its original closed box is ideal, but if that’s not an option, you can cover with a canvas or plastic tarp to protect it.
Video

GOLD CLUB.
Become a member of our Gold Club and get exclusive benefits only available to Members like extended warranties, free products, community access and more.
Explore furtherHOW DO I CONTACT YOU?
Our customer success team can be reached at 1-800-613-6889; 7 days a week.
Monday-Friday: 8 AM-12 MN EST
Saturday & Sunday: 9 AM-5 PM EST, or reach out to us via email at support@petratools.com
You agree to receive follow-up text messages and calls by calling or texting this number. If you no longer wish to receive text messages or calls, you may opt-out at any time by replying "STOP"
HOW LONG DOES IT TAKE TO DELIVER?
Orders typically ship within 2 business days and arrive 3-5 days after shipment.
WHERE ARE YOU LOCATED?
We are located in central Pennsylvania.
IS THERE A WARRANTY ON EACH ITEM?
PetraTools provides a standard 3-month full warranty for manufacturer defects. If customer registers for extended warranty, PetraTools provides an additional 3 months limited warranty. Limited warranty covers replacement units due to manufacturer defects (shipping paid by customer).
PetraTools sprayers are available for free returns for 30 days post-purchase. All other chemicals and solutions are not eligible for returns or exchanges at this time. Please contact Customer Service if you have received a damaged product so we can replace it for you.
Otherwise, we ask that you be kind to our planet and share any unwanted orders with a neighbor or friend.