
What’s in the box?
Wand
Valve Handle
Sprayer
Hose
What are the parts of the HD201?
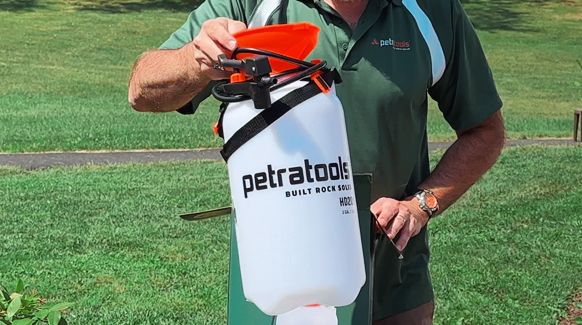
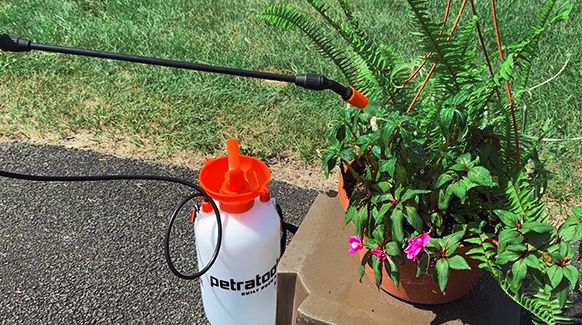
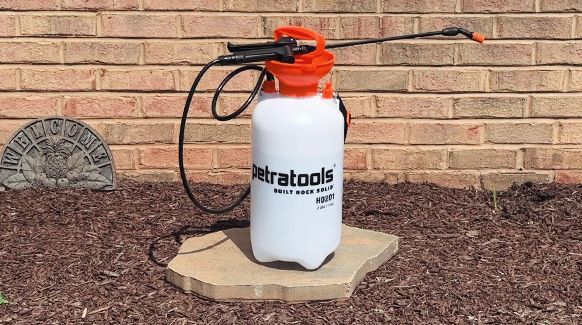
The HD201 is a 2-gallon pump sprayer designed for comfort and versatility. Let's break down the parts of your HD201:
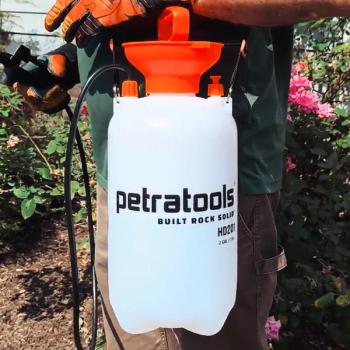
Tank
The translucent, 2-gallon container that helps store your fertilizers, pesticides, and a variety of liquid solutions. It comes with ergonomic features such as a wide-mouth lid for easy filling.
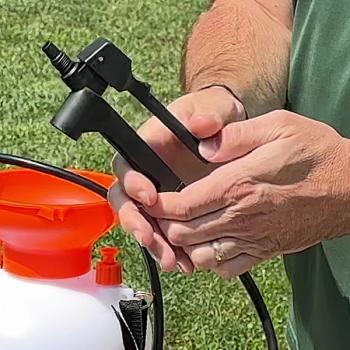
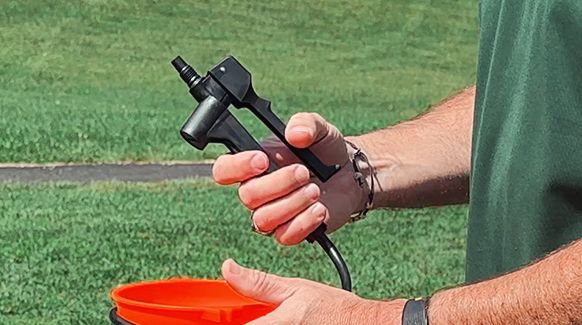
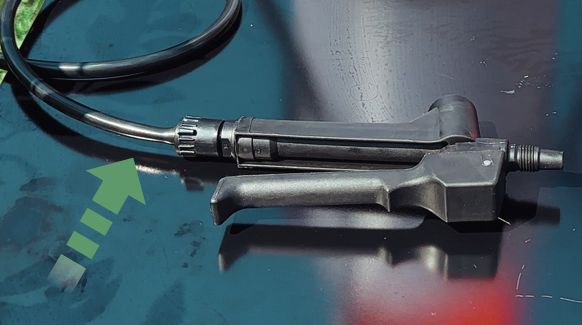
Valve Handle
The valve handle is easy to grip and makes using the sprayer comfortable for long periods. It helps you control how much spray comes out.
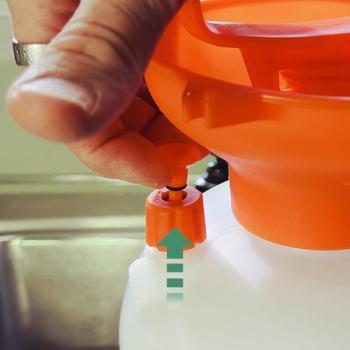
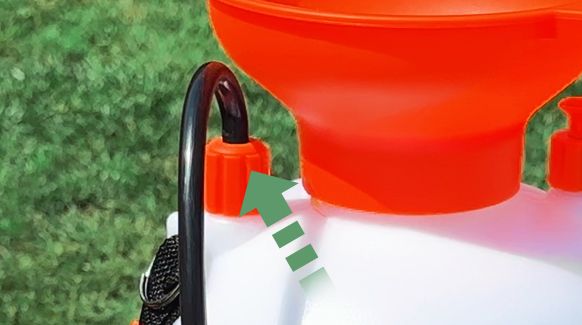
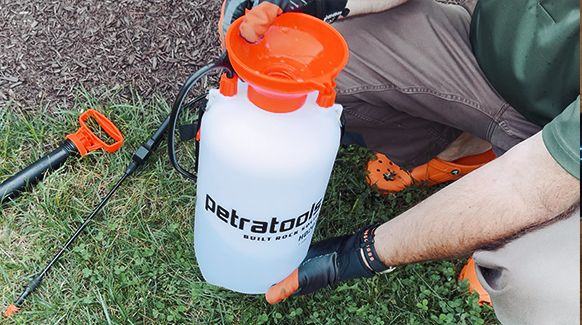
Pressure Release Valve
This safety feature stops the sprayer from getting too much pressure. Just pull it up to release pressure and keep things safe.
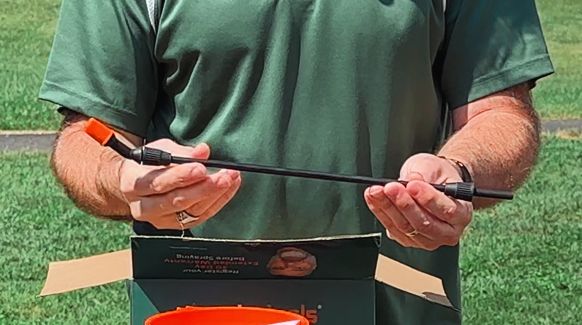
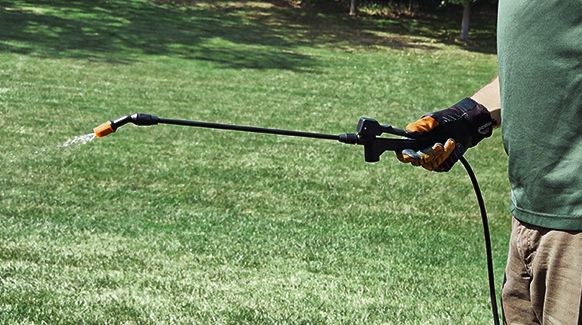
Wand with Nozzle Attachment
The 16-inch wand and its nozzle allow you to spray in hard-to-reach places. You can choose between a gentle mist or a direct spray.

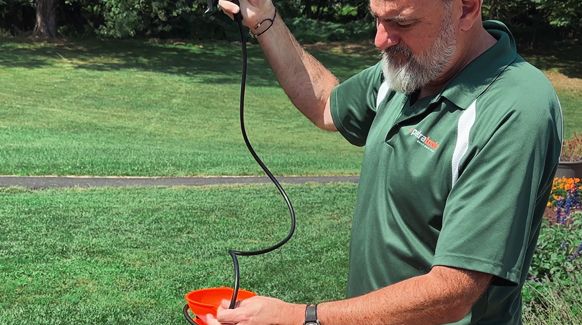
Hose
The 52-inch hose is flexible and long, so you can easily move around while you spray. It's strong and made to last.
How to use the HD201
Using the HD201 pump sprayer is easy. Follow these simple steps, and you’ll be spraying in no time!
Step 1
The hose comes attached to the side of the sprayer. You’re welcome!
Step 2
The valve handle comes attached to the other end of the hose.
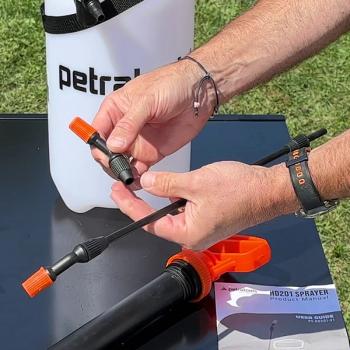
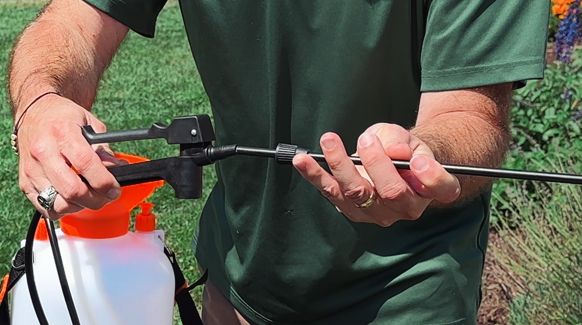
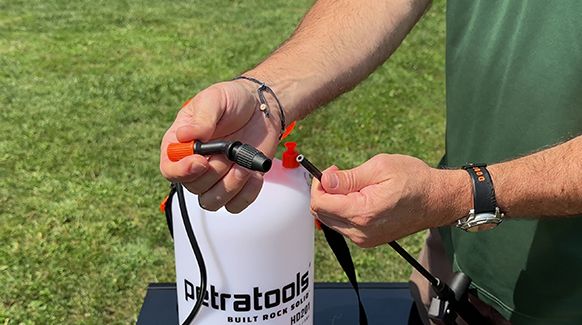
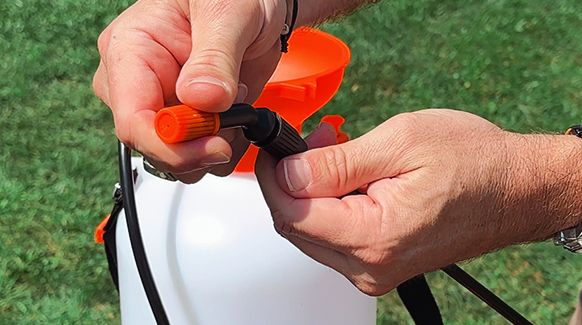
Step 3
Fully insert the wand into the valve handle. Tighten the compression nut to the handle to secure the wand and form a leak-free seal.
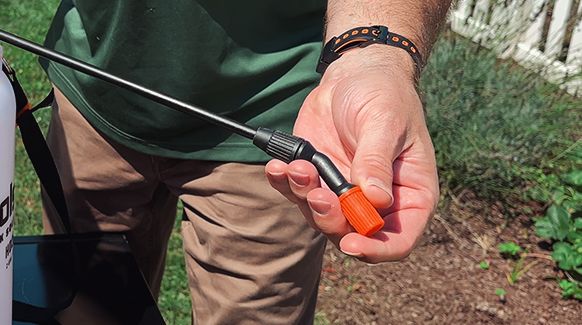
Step 4
Pick the nozzle of your choice and attach it.
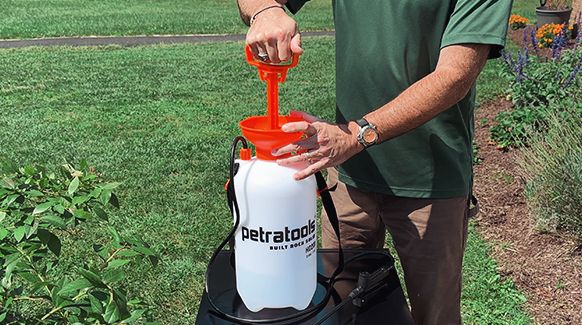
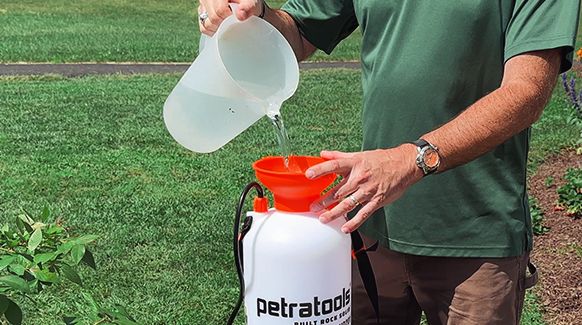
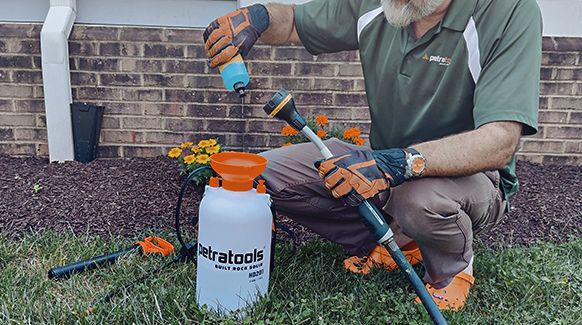
Step 5
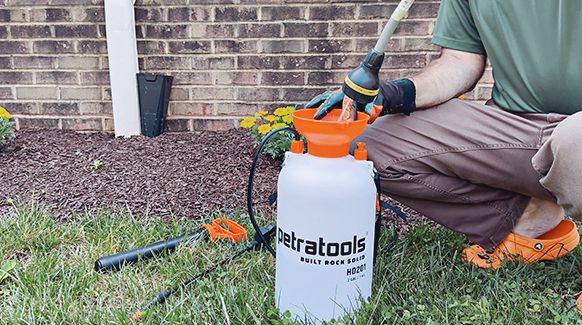
After pouring your chosen liquid into the tank, pump the handle to build pressure.
Step 6
Use the trigger to spray. Remember to avoid bleaches, acids, and thick/creamy substances.
You'll need to pump the sprayer periodically to keep pressure in the tank.
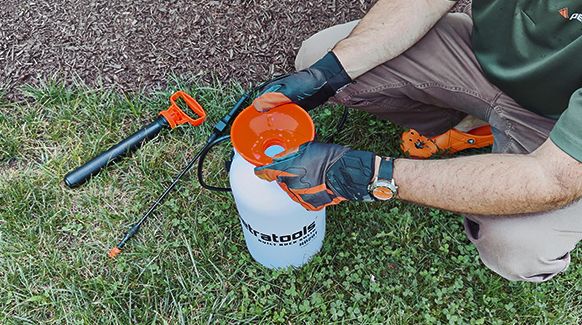
Step 8
Always pull the pressure release valve when you are done using the sprayer.

Troubleshooting your HD201 Pump sprayer
Don't let sprayer issues slow you down! Our troubleshooting guide will help you quickly fix common problems with your HD201 Pump Sprayer, so you can get back to your gardening tasks.
Check your tank
Make sure the tank is properly sealed and tightened to prevent air leaks. Remember to pump the handle several times before using it to build up pressure in the tank.
Inspect the nozzle.
If the spray is not coming out of the nozzle or the spray pattern is not as expected, inspect the nozzle for blockages or damage. Unscrew the nozzle and clean it thoroughly with water to remove any dirt or debris. If the nozzle appears damaged, replace it with a new one.
Check for leaks
Inspect all connections to make sure they’re tight and leak-free. Replace any damaged or worn parts as needed.
Check the spray solution
Make sure the spray solution is mixed properly and isn’t too thick. Adjust the mixture as needed for a smooth flow and consistent spray pattern.
How To Clean your Sprayer
Keeping your HD201 clean makes sure it stays in top working condition. Here’s how:
Step 1
Empty any remaining solution from the tank and rinse it thoroughly with clean water.
Step 2
Fill the tank with warm, soapy water.
Step 3
Pump the sprayer and squeeze the handle to circulate the cleaning solution through the hose and nozzle.
Step 5
Rinse the tank, hose, and nozzle with clean water and spray this through the sprayer to flush out any remaining residue.
Step 6
Let the sprayer air-dry, and store it in a cool, dry place.
How To Prepare your Sprayer for Winter Storage
Make sure your sprayer is ready for next season with these steps:
Step 1
Run 1 gallon of warm water mixed with 2 teaspoons of liquid dish soap through the unit to clean all internal parts, then run 1 more gallon of warm water only through. Spray until the unit, wand & hose are fully empty.

Step 2
Place the unit right-side-up in the warmest storage possible. Do not store long-term in temps below 32°F.
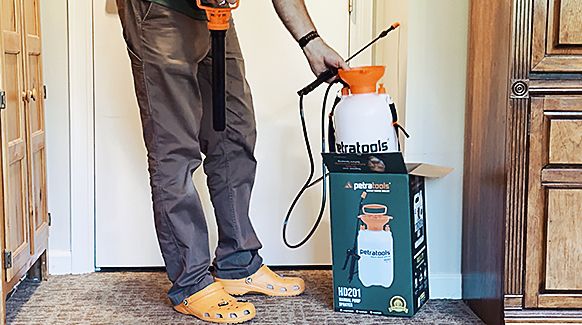
Step 3
Storage in its original closed box is ideal, but if that’s not an option, you can cover it with a canvas or plastic tarp to protect it.


GOLD CLUB.
Become a member of our Gold Club and get exclusive benefits only available to Members like extended warranties, free products, community access and more.
Explore furtherFREQUENTLY ASKED QUESTIONS
HOW DO I CONTACT YOU?
Our customer success team can be reached at 1-800-613-6889; 7 days a week.
Monday-Friday: 8 AM-12 MN EST
Saturday & Sunday: 9 AM-5 PM EST, or reach out to us via email at support@petratools.com
You agree to receive follow-up text messages and calls by calling or texting this number. If you no longer wish to receive text messages or calls, you may opt-out at any time by replying "STOP"
HOW LONG DOES IT TAKE TO DELIVER?
Orders typically ship within 2 business days and arrive 3-5 days after shipment.
WHERE ARE YOU LOCATED?
We are located in central Pennsylvania.
IS THERE A WARRANTY ON EACH ITEM?
PetraTools provides a standard 3-month full warranty for manufacturer defects. If customer registers for extended warranty, PetraTools provides an additional 3 months limited warranty. Limited warranty covers replacement units due to manufacturer defects (shipping paid by customer).
PetraTools sprayers are available for free returns for 30 days post-purchase. All other chemicals and solutions are not eligible for returns or exchanges at this time. Please contact Customer Service if you have received a damaged product so we can replace it for you.
Otherwise, we ask that you be kind to our planet and share any unwanted orders with a neighbor or friend.