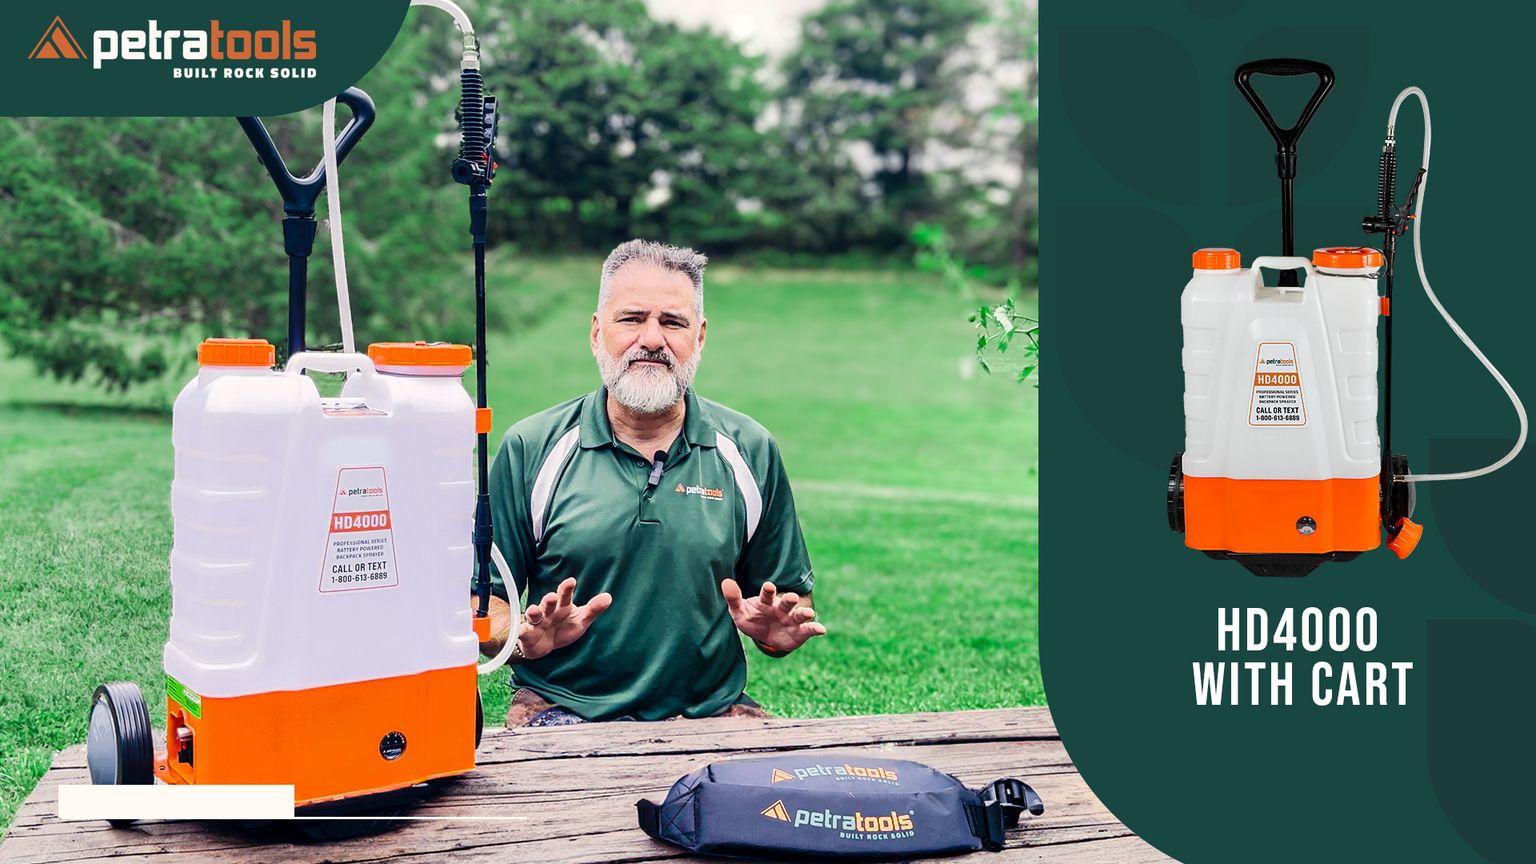
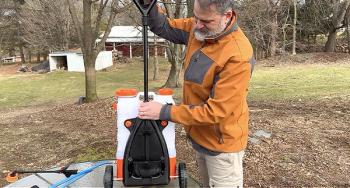
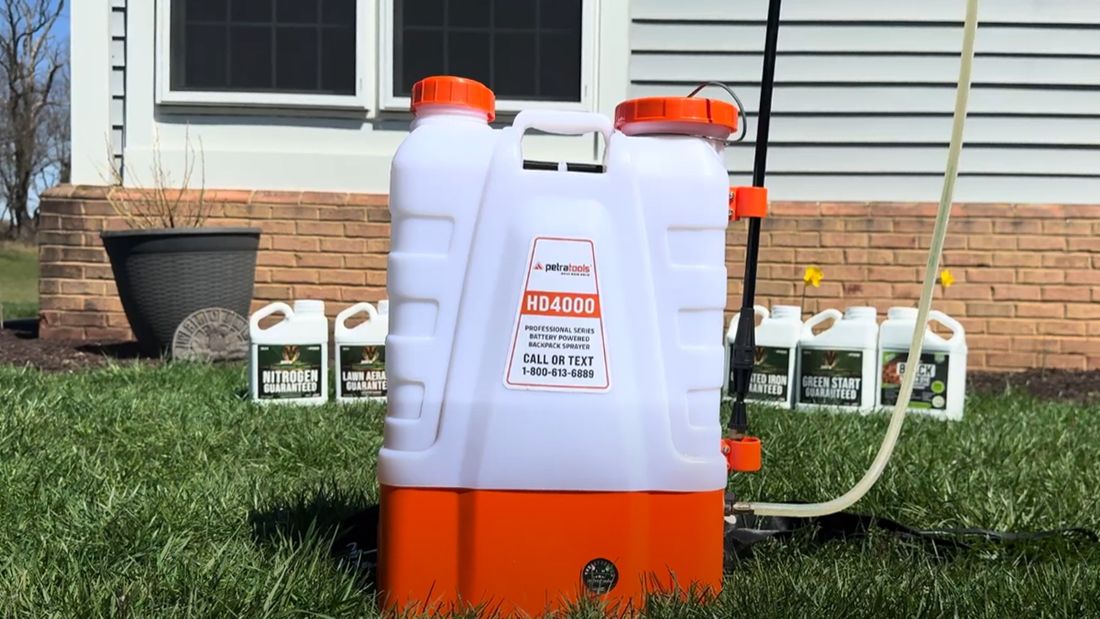
HD4000 Battery-Powered Backpack and Cart Sprayer
Table of Contents
What’s In The Box?
The following are included when purchasing the HD4000 with Cart:
High-Capacity Battery
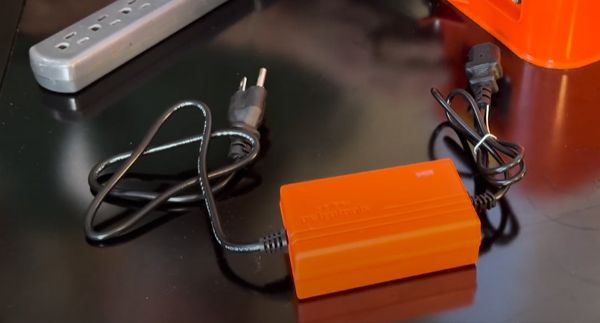
Battery Charger
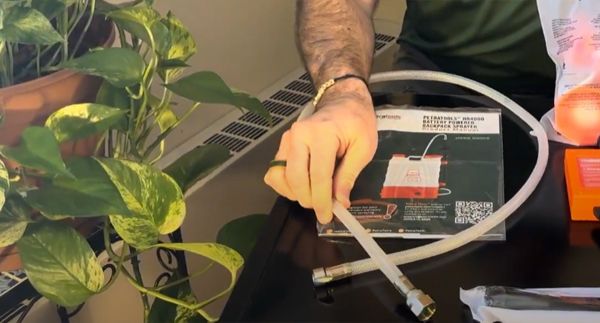
4-ft High Pressure Hose
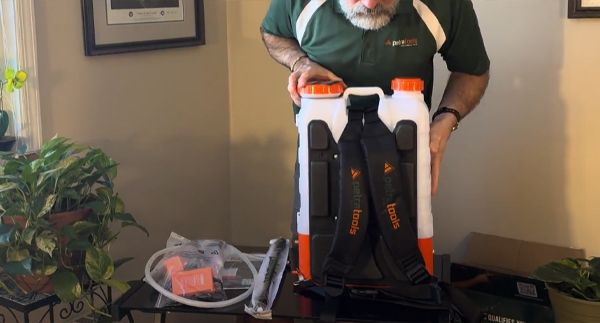
Triple Padded Shoulder Straps
6 Unique Nozzles
Heavy Duty Wand
What Are The Parts Of HD4000 with Cart?
The battery-powered backpack and cart sprayer includes the following parts:
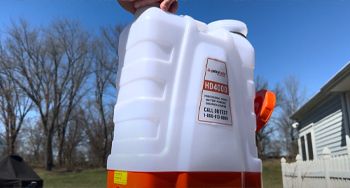
Tank
The 4-gallon container tank that holds the liquid or solution to be sprayed.
Wheeled Cart
Allows you to move the sprayer anywhere without needing to wear it as a backpack.
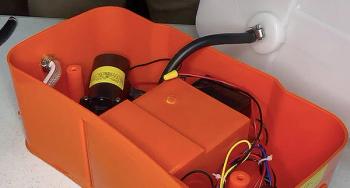
Pump
Heavy-duty 4.0L pump that creates pressure to spray the liquid or solution.
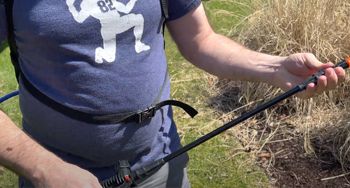
Wand
The long tube that holds the nozzle and allows the user to direct the spray.
Nozzle
The attachment at the end of the wand that controls the pattern and volume of the spray.
Battery
The power source that provides energy to the pump.

Straps
The adjustable ergonomic straps that attach the sprayer to the user's back for easy mobility.
Trigger
The mechanism that activates the pump and starts the spray.
How to use the HD4000 with Cart
The HD4000 backpack sprayer with cart is a powerful tool for applying liquid solutions to your lawn and garden. Here’s how to use it:
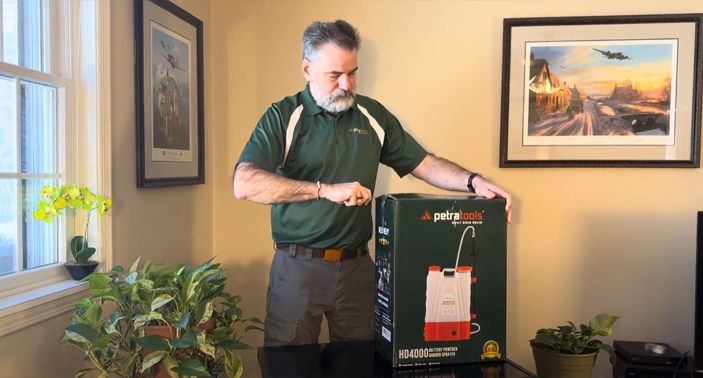
Step 1
Grab your PetraTools HD4000 box.
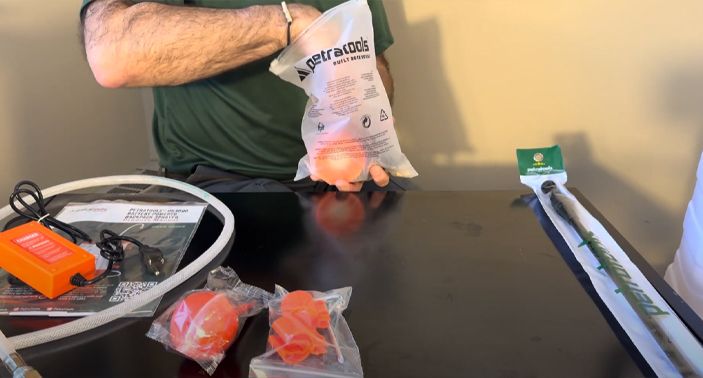
Step 2
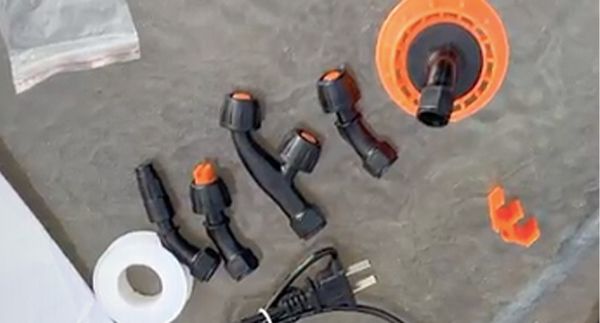
Take out what's inside the accessories bag.
- Valve Handle
- Nozzles
- Plumber’s Tape
- Charger
- Set of Gaskets & O-Rings
Step 3
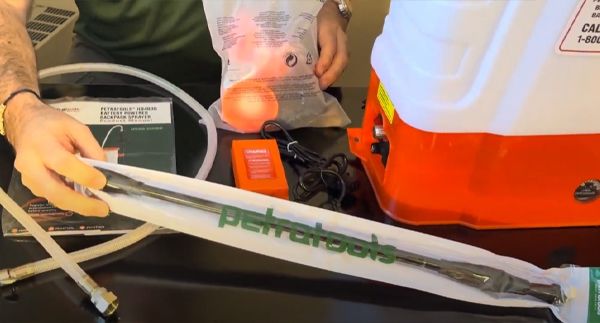
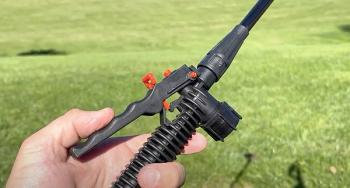
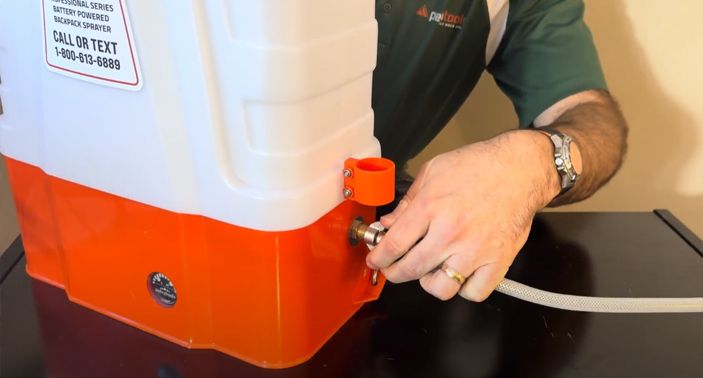
Assemble the HD4000 Battery-Powered Backpack Sprayer.
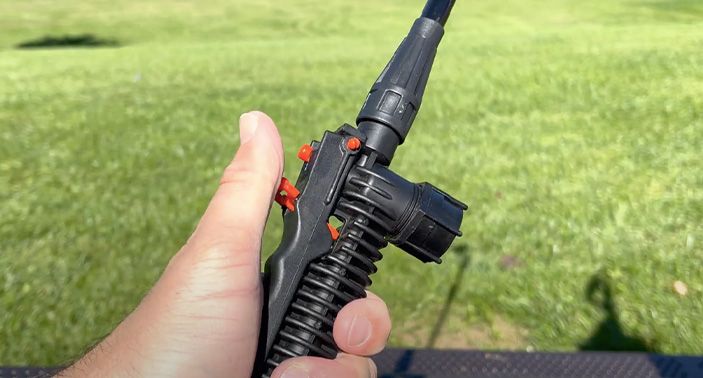
- Thread the valve handle onto the hose.
- Thread the wand onto the valve handle.
- Select the nozzle you'll be using.
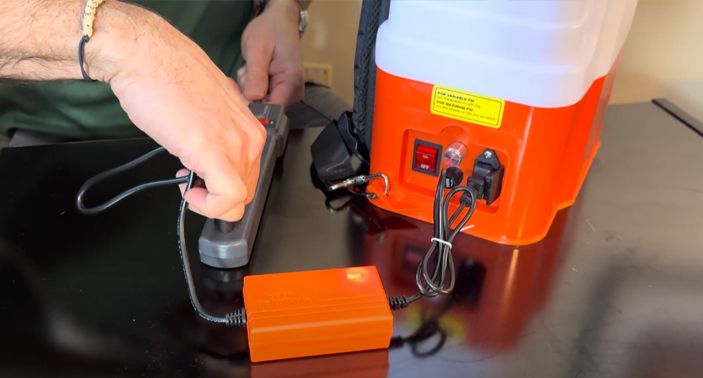
Step 4
Fully charge your HD4000 before using it on your first job.
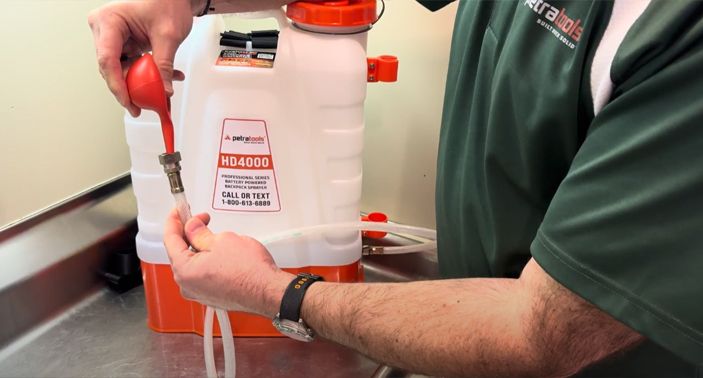
Step 5
Prime the pressure sprayer before you use it for the first time.
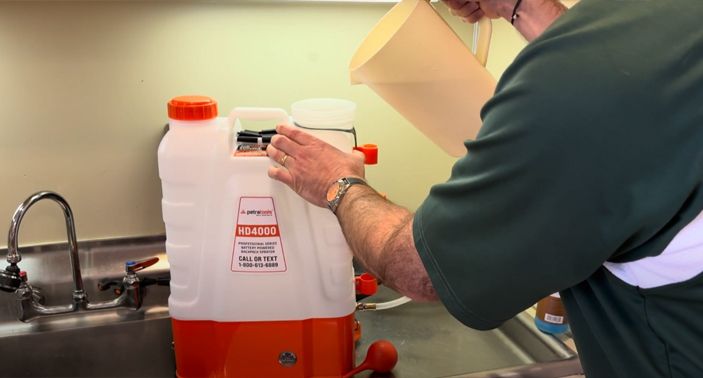
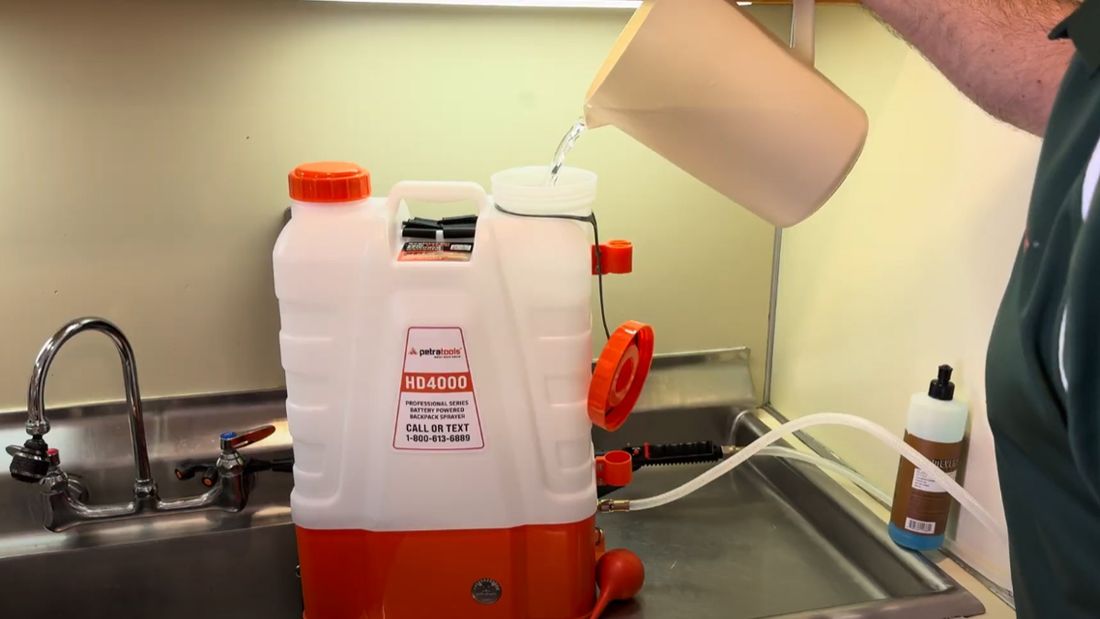
Step 6
Add liquid of your choice through the mesh strainer in the lid.
Step 7
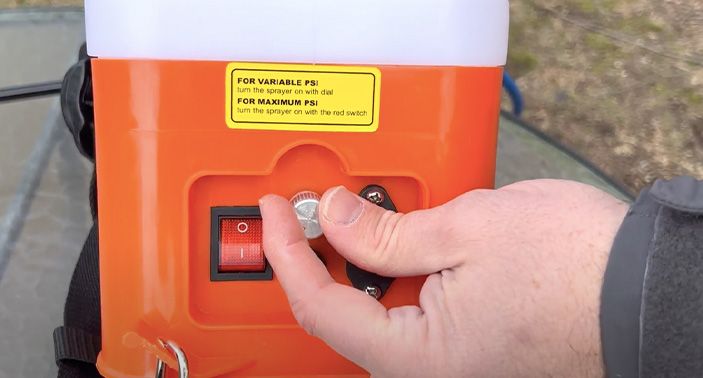
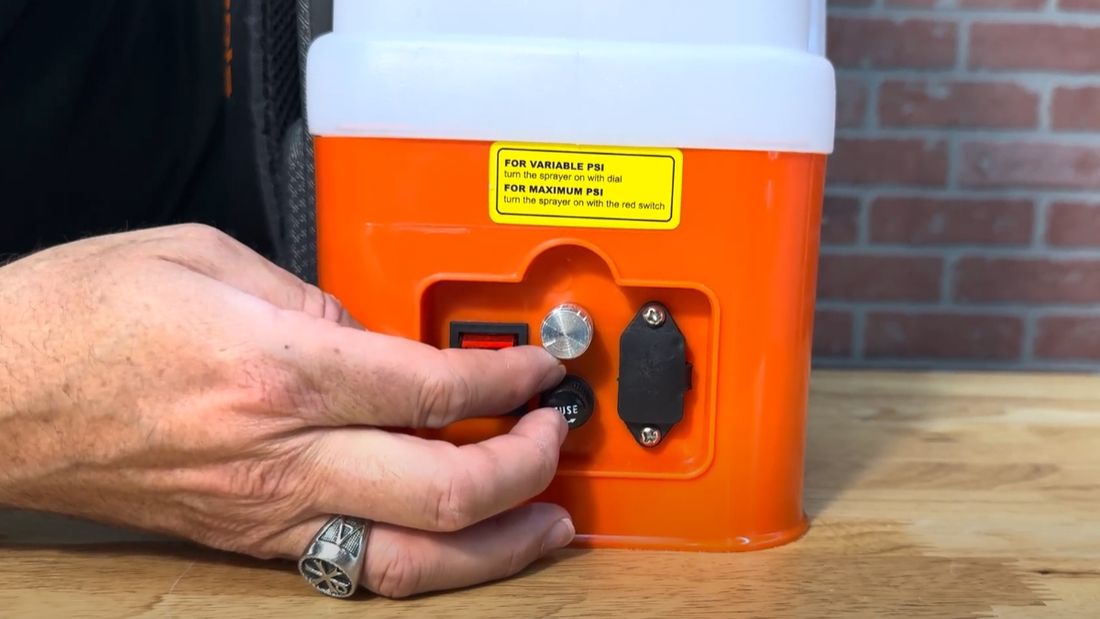
Turn the pressure dial clockwise until the unit pumps and pauses.
Step 8
Squeeze the valve handle and engage the red locking mechanism for continuous flow.
Step 9
Make sure that the pressure adjustment knob is turned off when you're finished.
Troubleshooting your HD4000 Cart Sprayer
If you've tried turning the HD4000 Battery-Powered Backpack Sprayer on and it doesn't work, do this:
Step 1
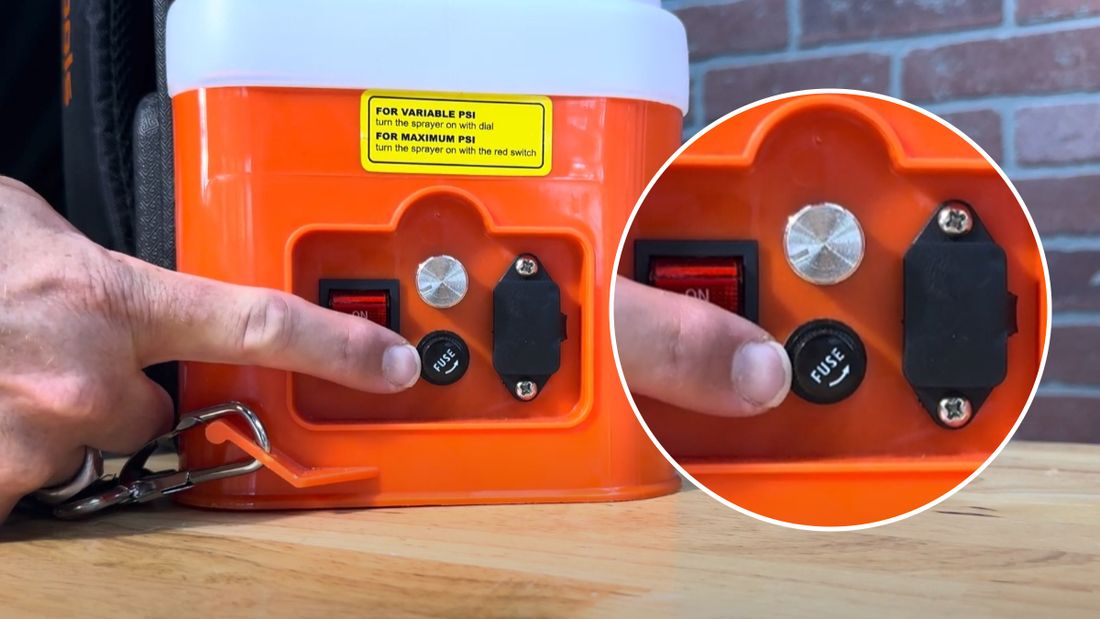
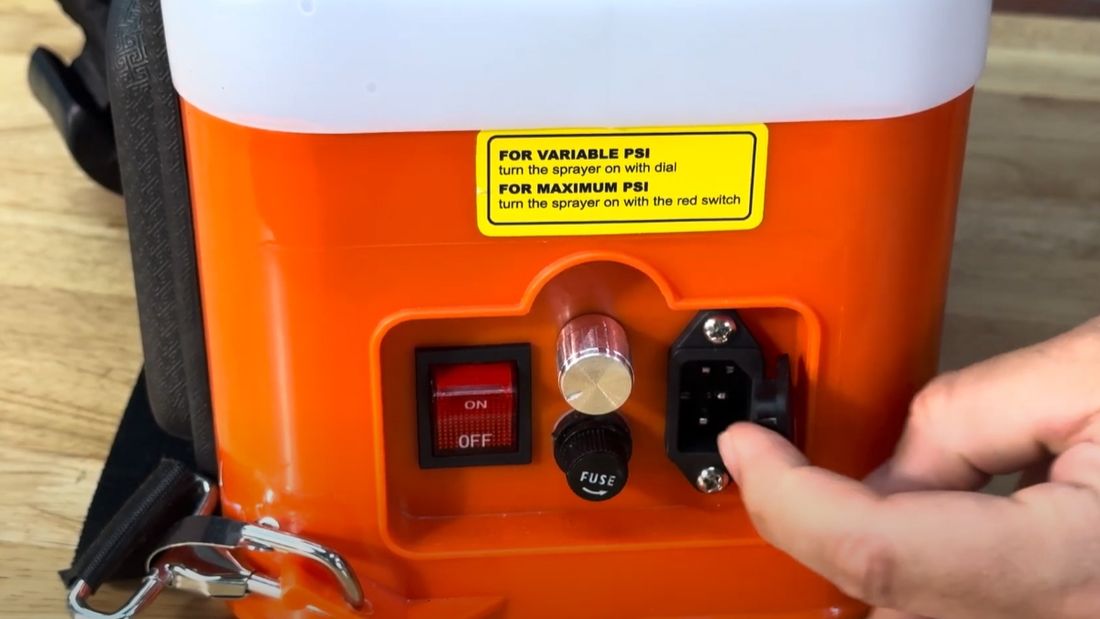
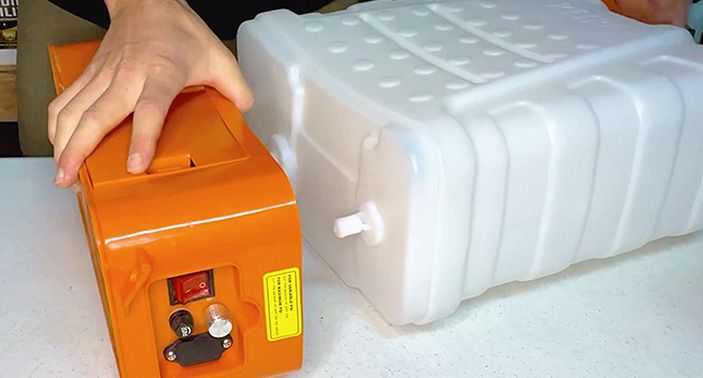
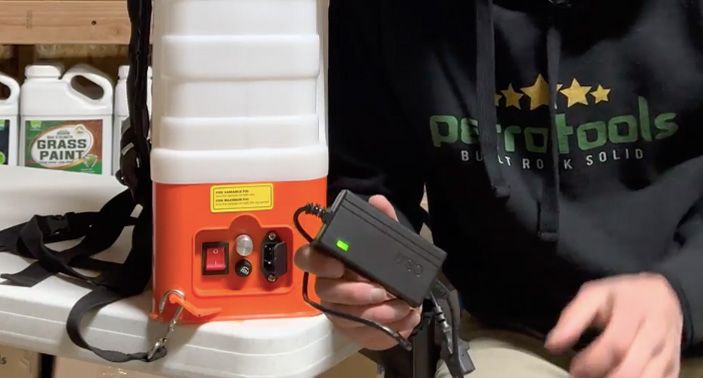
Check the switches.
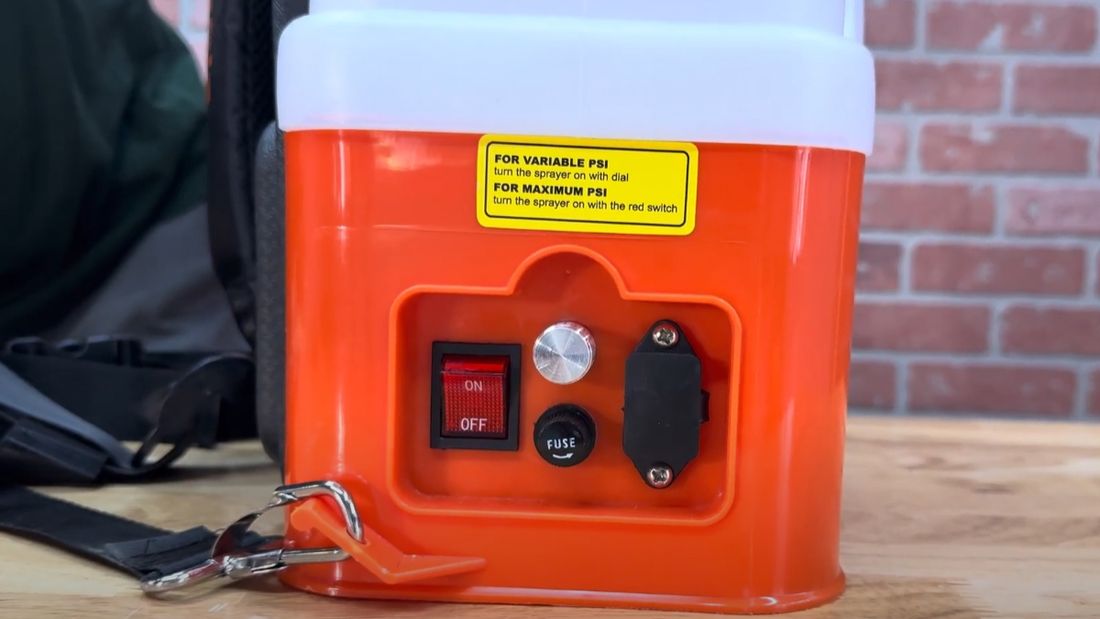
Turn off when not in use: Always make sure the red rocker switch and silver pressure knob are in the OFF position when the sprayer is not in use.
Keep the switch and knob turn off to avoid draining the battery.
Rotate the silver knob counterclockwise until you hear it click to turn off.

Step 2
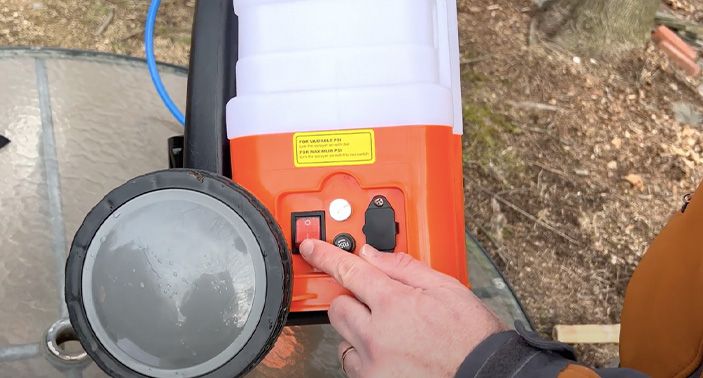
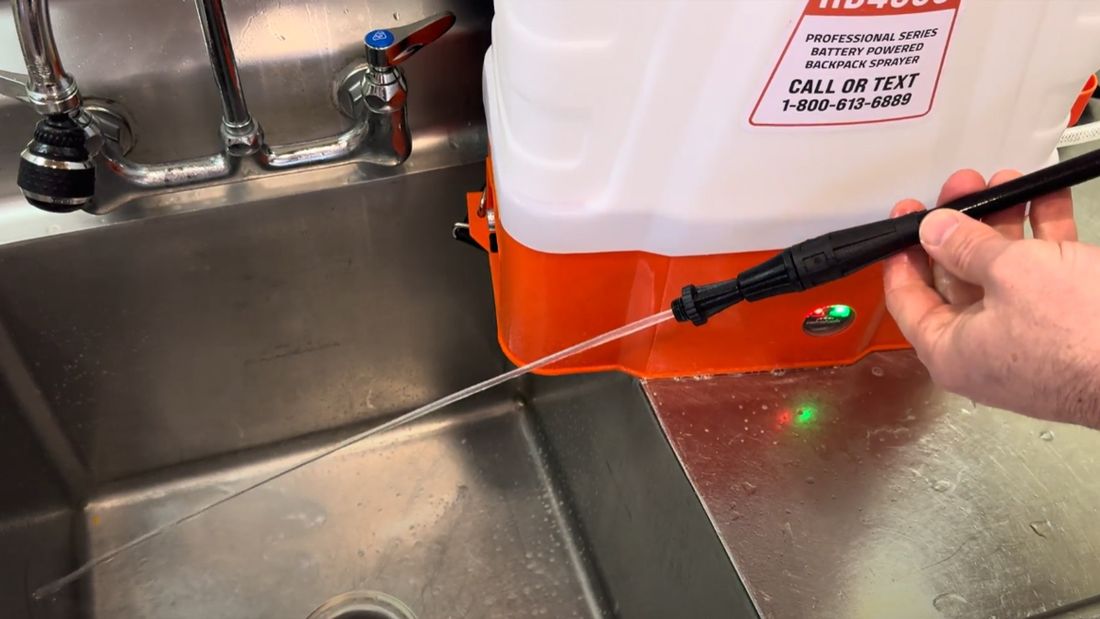
Check if the lights in front of the unit are turning on.
There are two light colors on the front of the unit - green and red. The red light shows that the unit is on and green means that the battery is charged.
Step 3
Check the fuse.
To check the fuse, remove it from the control panel and take a good look at it. The fuse has a filament inside of it. Make sure that there is no burning inside and that the filament is attached correctly. Replace with the included spare if required.
Step 4
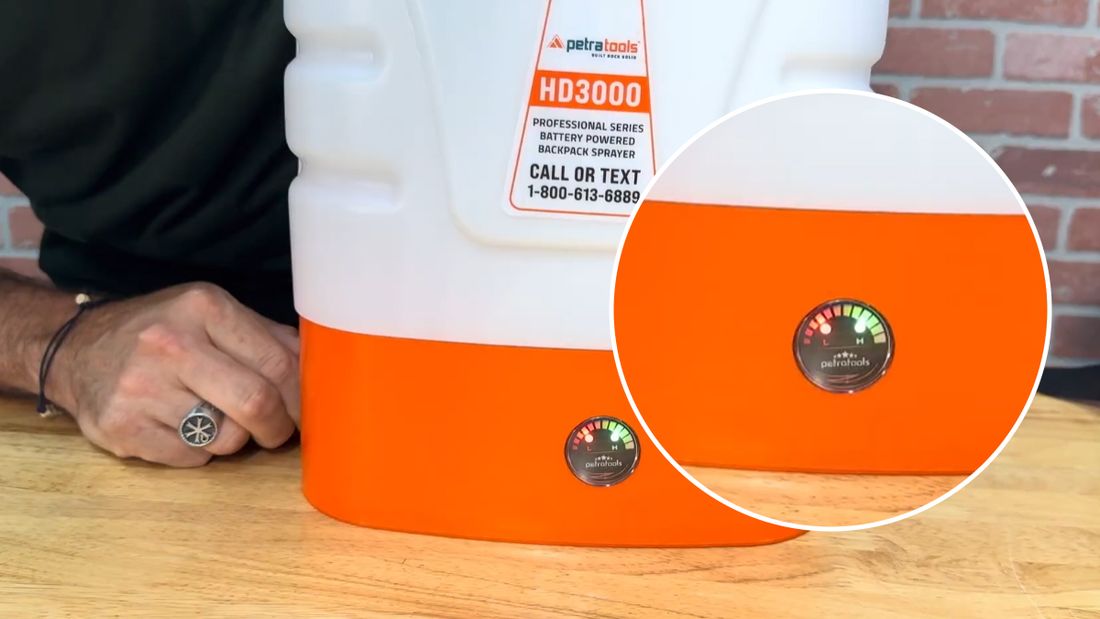
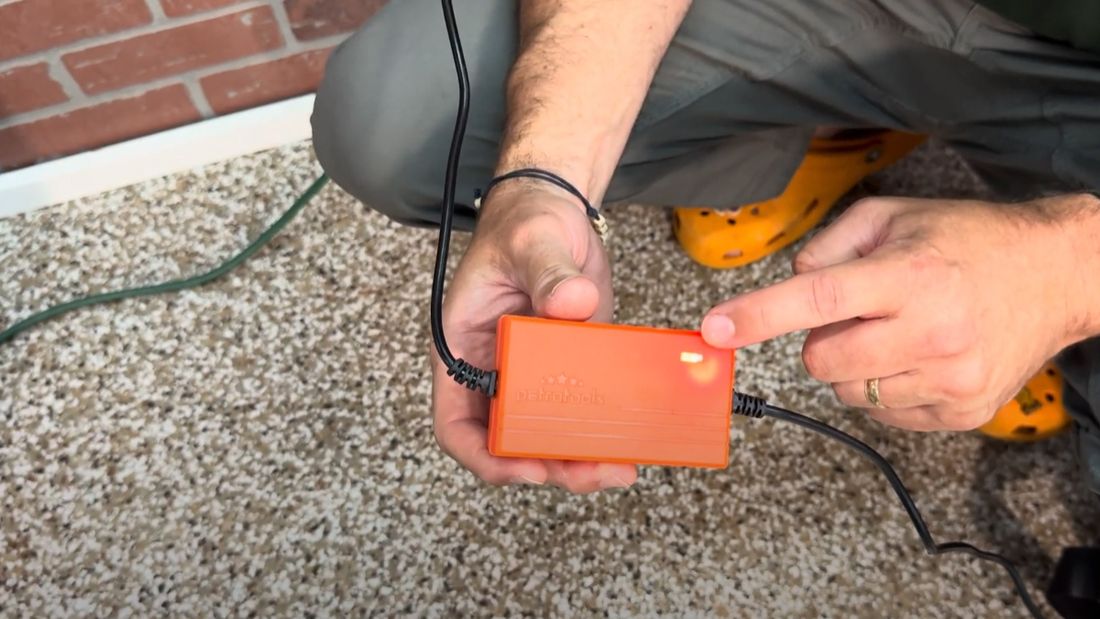
Check if the battery is charged.
To do this, try plugging the charger into the unit. If the unit is charging, the charger light will turn red. When doing so, make sure that you are plugging the charger into a working outlet.
Step 5
Test the battery.
To determine if the battery is working or not, plug the charger into the unit and turn it on, bypassing the battery.
If the unit works while plugged in, the battery may need to be replaced.
If the unit still doesn't work, the issue could be with the pump or other components.
Step 6
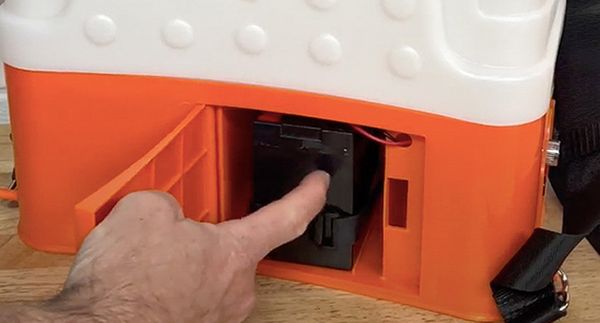
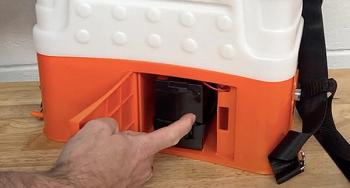
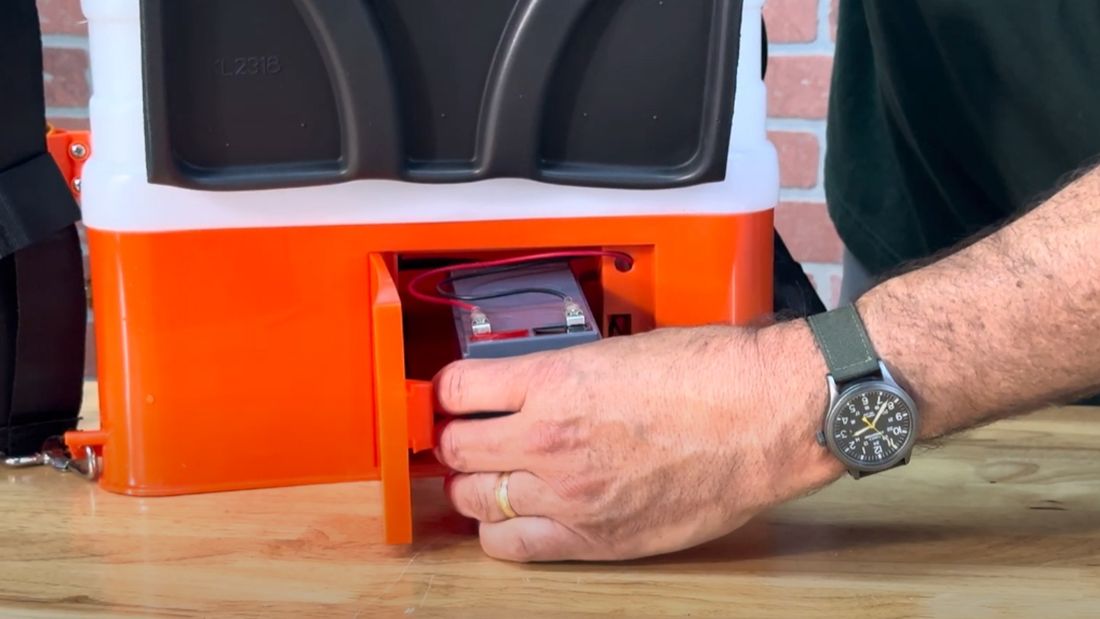
Check the battery terminal connections.
There could be times that the battery terminals aren’t connected to the wires. To determine if this is the case, open the compartment at the back of the unit and take off the velcro strap. Check that both wires are connected properly to the battery & ensure that moisture hasn’t made its way into the compartment.
Step 7
Access the internal wiring.
If you have worked through the steps above, and the unit is still not working, you might want to check the wiring inside the base of the unit. To do this, separate the unit and the tank by removing the Phillips screws from the base, then inspect if the wires are connected properly.
How To Change your Sprayer Battery
Changing the battery on your sprayer is a simple process.
Step 1
Ensure both the silver pressure knob & the red rocker switch are in the off positions.
Step 2
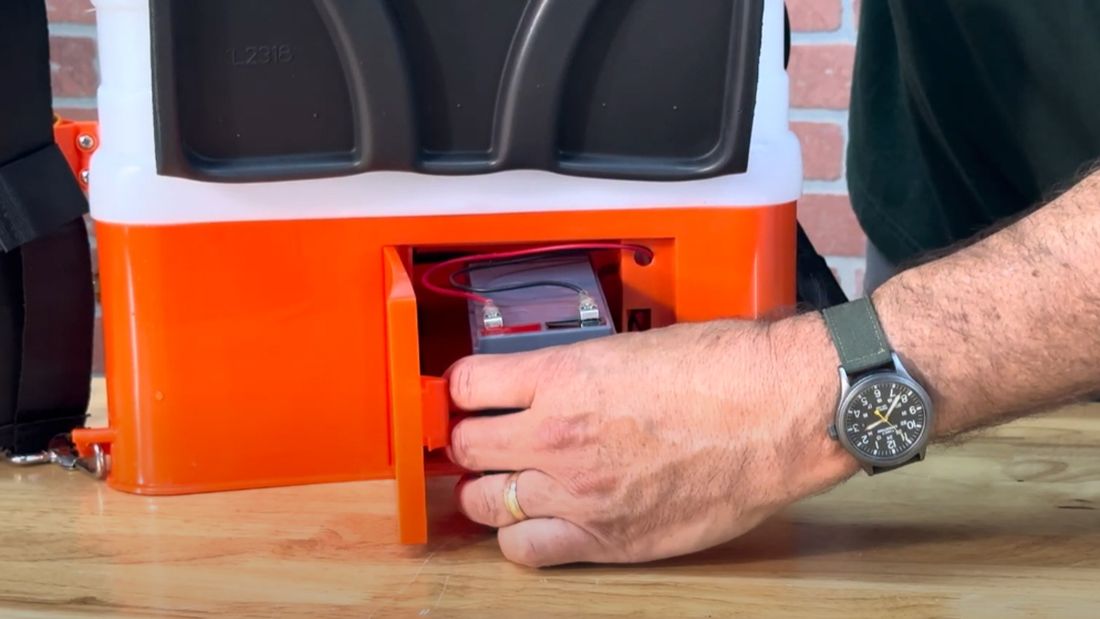
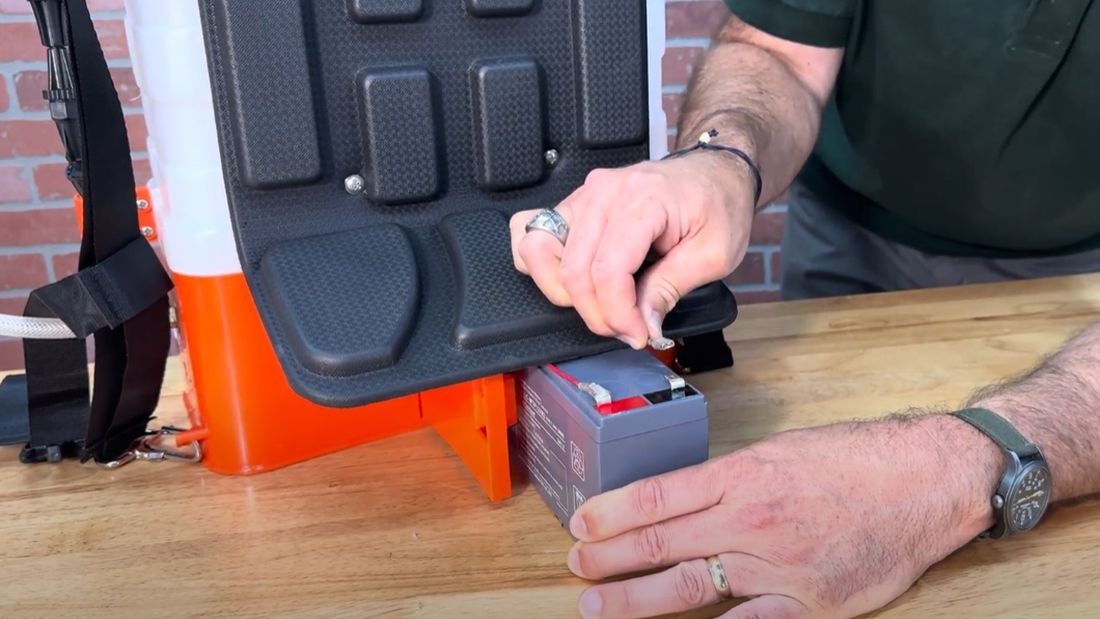
Locate the battery. On the back of the unit you’ll find a small access door. Push the retaining button in to open. The Velcro strap holds the battery in place. Remove it.
Step 3
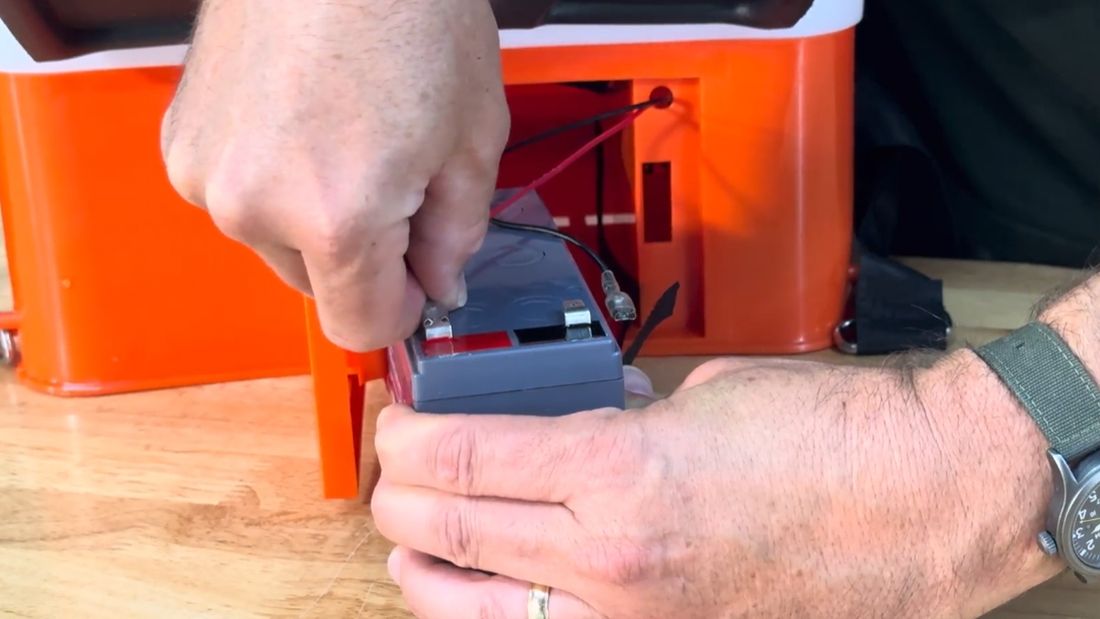
Remove the black and red wire connecting the battery to the device. You'll see that there are two wires connecting the battery to your device. One is black and one is red. Gently remove these.
Step 4
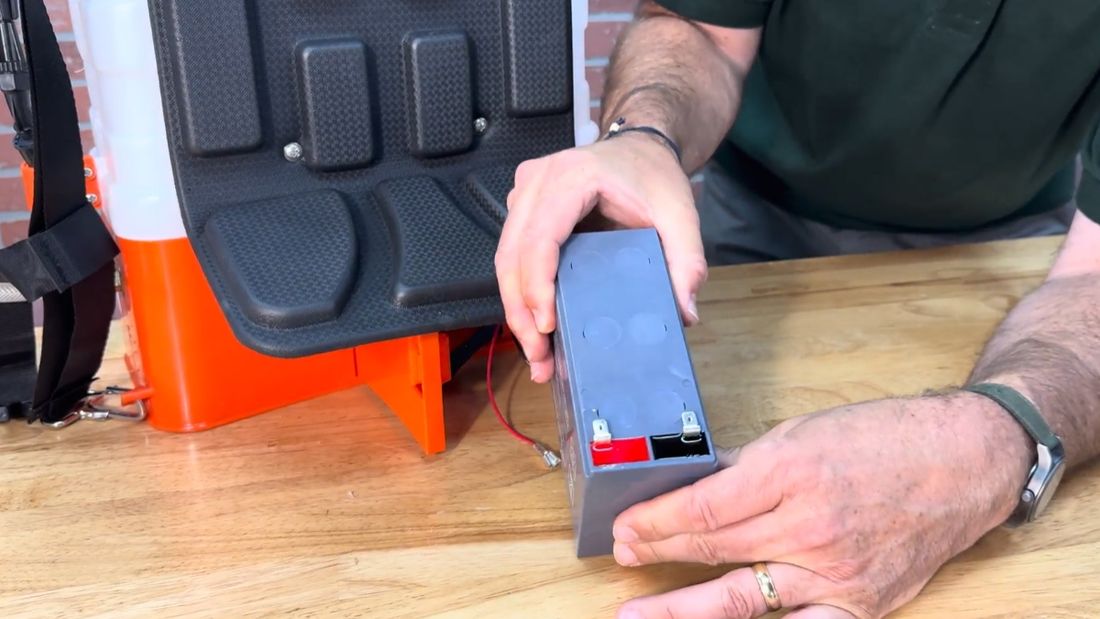
Take out the old battery. The old battery will now come out easily. Just pull it out of the compartment.
Step 5
Take your new battery and insert it into the compartment, making sure that the terminals are in the back, closest to the door, with the red terminal on the left.
Step 6
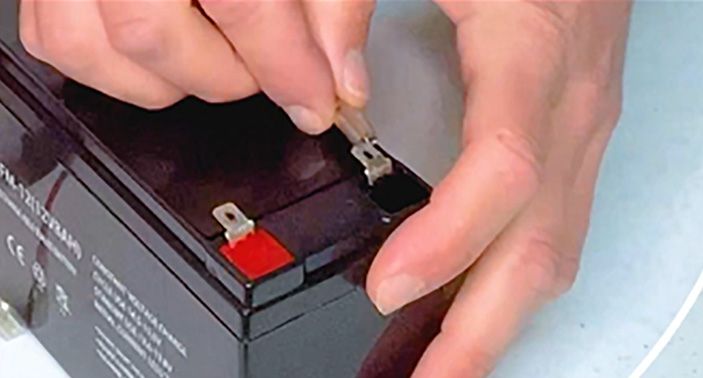
Take the black and red wires and reconnect them to the new battery. Make sure that they're snug and secure.
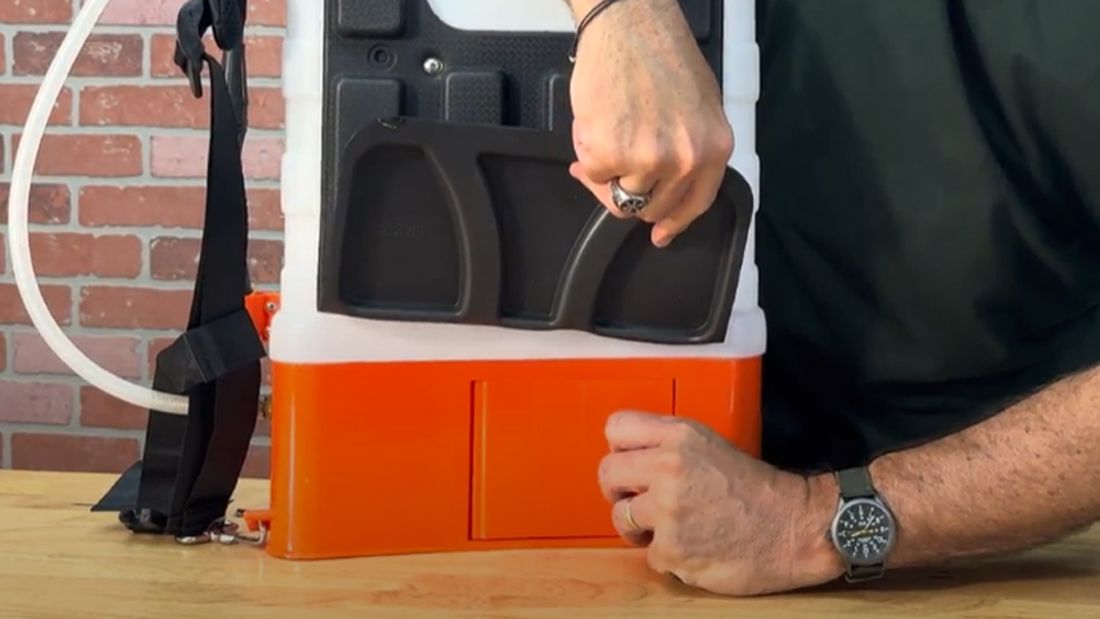
Step 7
Close the access door by pushing it in until it clicks.
How To Change your Pump
Replacing the pump on your sprayer can be accomplished with a few steps and some basic tools.
Step 1
Ensure both the silver pressure knob & the red rocker switch are in the off positions.
Step 2
For safety, remove and disconnect the battery from your unit prior to replacing the pump. Follow the steps above for this process.
Step 3
Disassembly
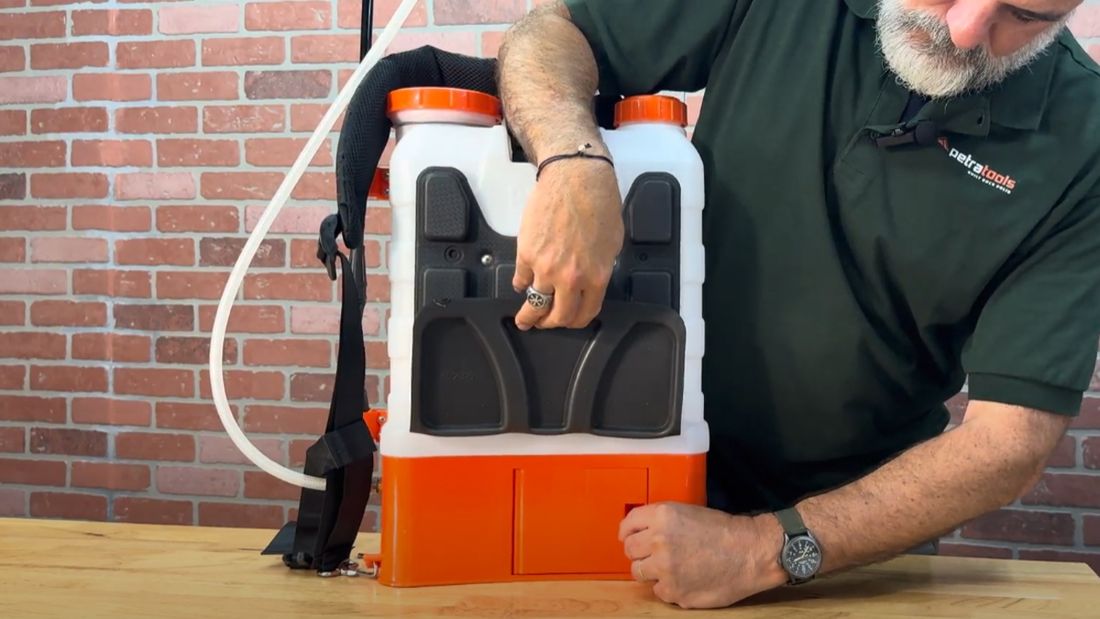
Lay the sprayer on its side and locate the two Phillips screws securing the tank to the base. Unscrew them using a long screwdriver, as they are recessed approximately 5 inches into the unit.
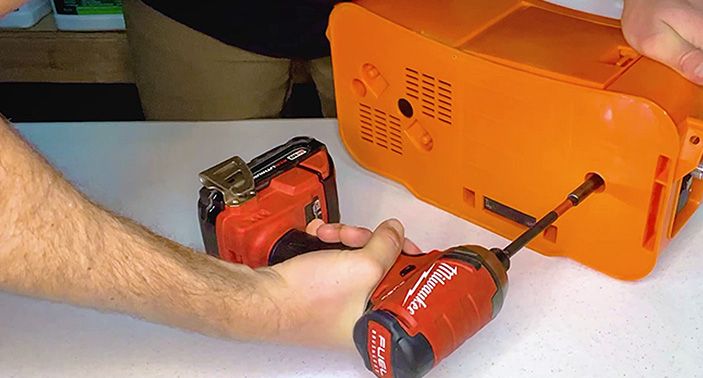
Step 4
Disassembly
Take those two screws out so you can separate the bottom part of the sprayer from the tank itself. Put them in a safe place!
Step 5
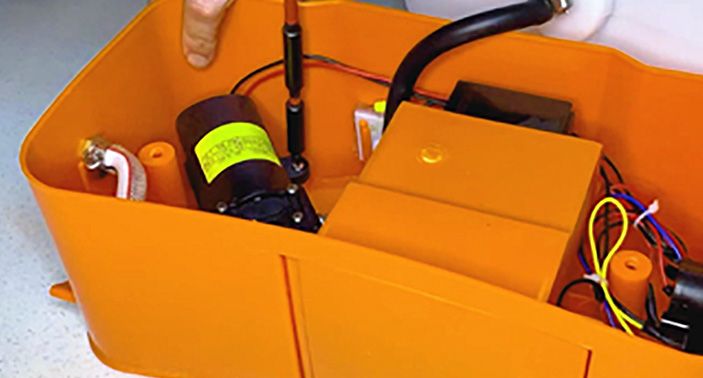
Pump Replacement
Remove the three screws holding the pump to the unit. Set the screws aside for later.
Step 6
Pump Replacement
Use a flat-blade screwdriver to loosen the hose clamps securing the hoses on either side of the pump. Pull the hoses to remove from the pump. A rotating motion can help.
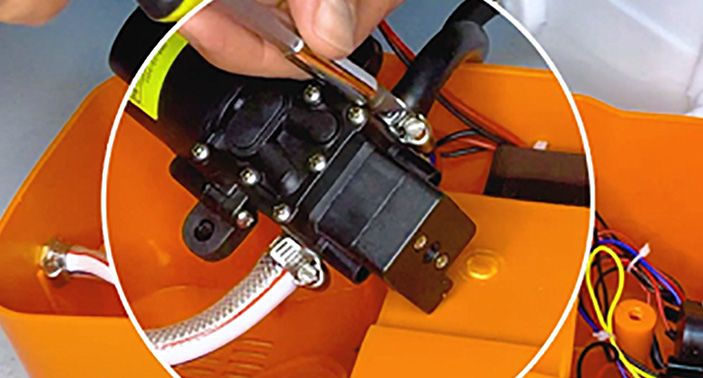
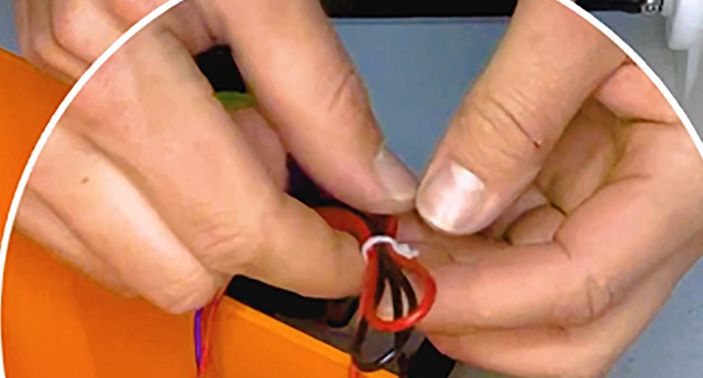
Step 7
Pump Replacement
Cut the wires. - Disconnect the wires which are connected to the device. Cut the plastic tie first before doing so. Ideally, leave at least 4-5 inches on the wires. These can be disconnected by gently pulling on them.
Step 8
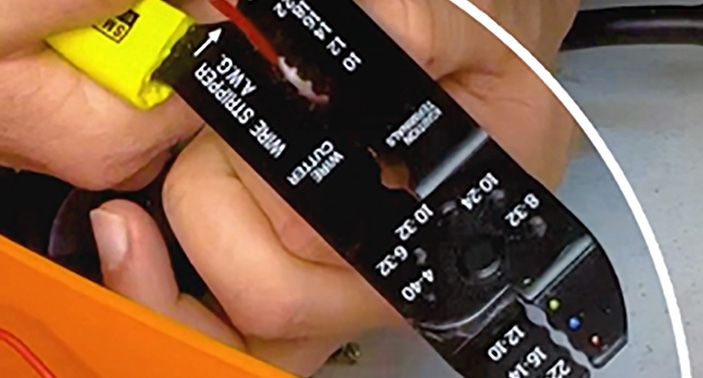
Pump Replacement
Strip the wires. - Strip about a half-inch of the plastic casing of the wires so that they can be reconnected more easily.
Step 9
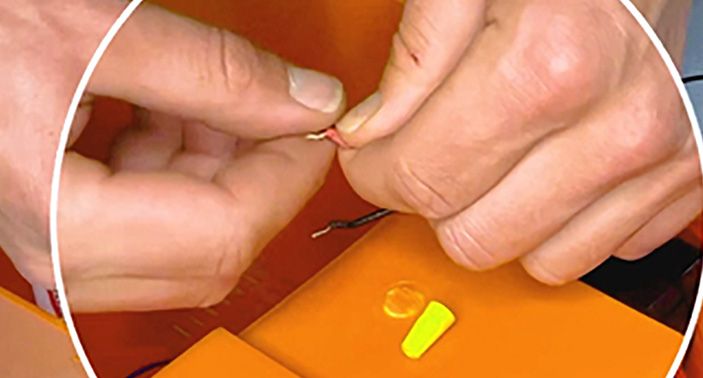
Pump Replacement
Reconnect the wires. - Reconnect the wires to the device, being careful to not cross any of them. Make sure they're snug and secure.
Step 10
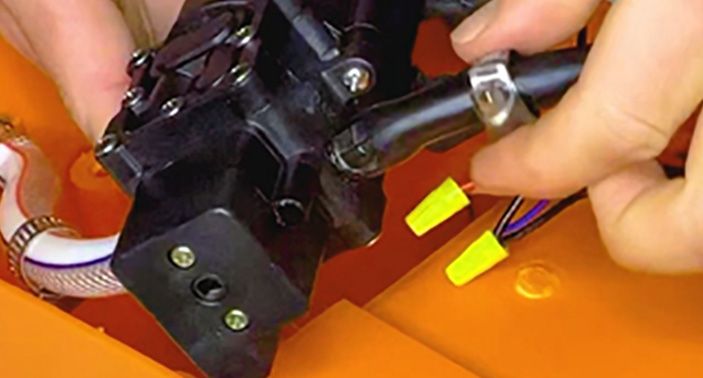
Pump Replacement
Install the pump. - Install the new pump by screwing it in and attaching the hoses. Be sure to put the hose clamps back on so that they're snug and secure.
Step 11
Reassembly
To reassemble your HD4000, ensure that the screw holes & outer casing parts match up. You should be able to easily tighten the two screws removed in step 1 above.
How To Clean your Sprayer
Cleaning your HD4000 Battery-powered Backpack and Cart Sprayer is crucial for its longevity and efficiency. Here's how to do i
Step 1
Empty any remaining solution from the tank and rinse it thoroughly with clean water.
Step 2
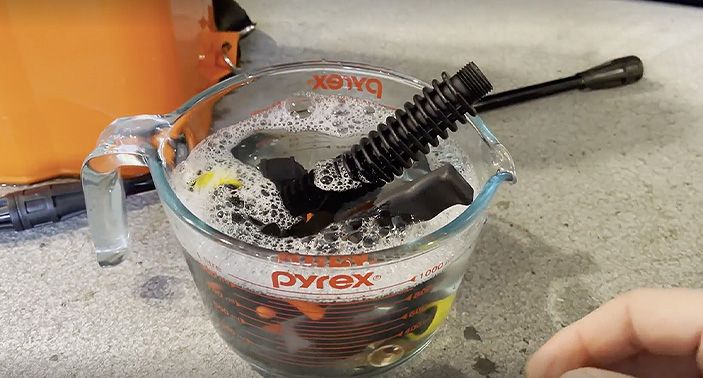
Add 16 oz of warm, soapy water to the tank
Step 3
Turn on the pump and squeeze the handle to run the warm, soapy water through the pump, hose, and nozzle
Step 4
Empty the soapy water and rinse the tank, hose, and nozzle with clean water a final time
Step 5
Let the sprayer air-dry, and store it in a cool, dry place.
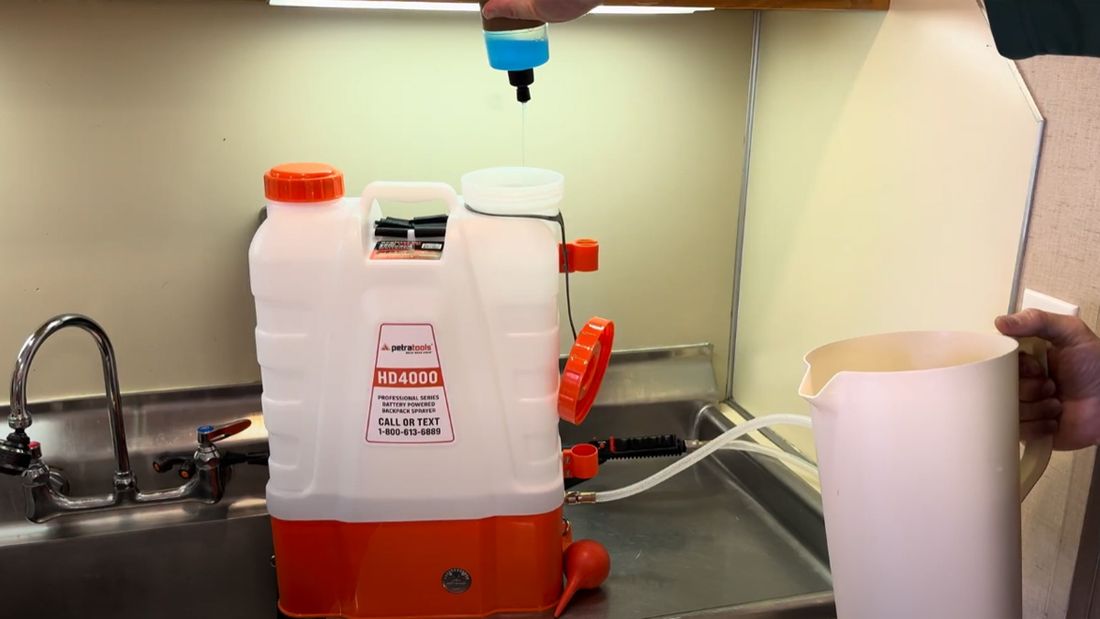
How To Prime the Pump
Priming your HD4000 Battery-Powered and Cart Sprayer is quite easy. Just follow these two steps:
Step 1
Add 1 gallon of warm, soapy water into the tank
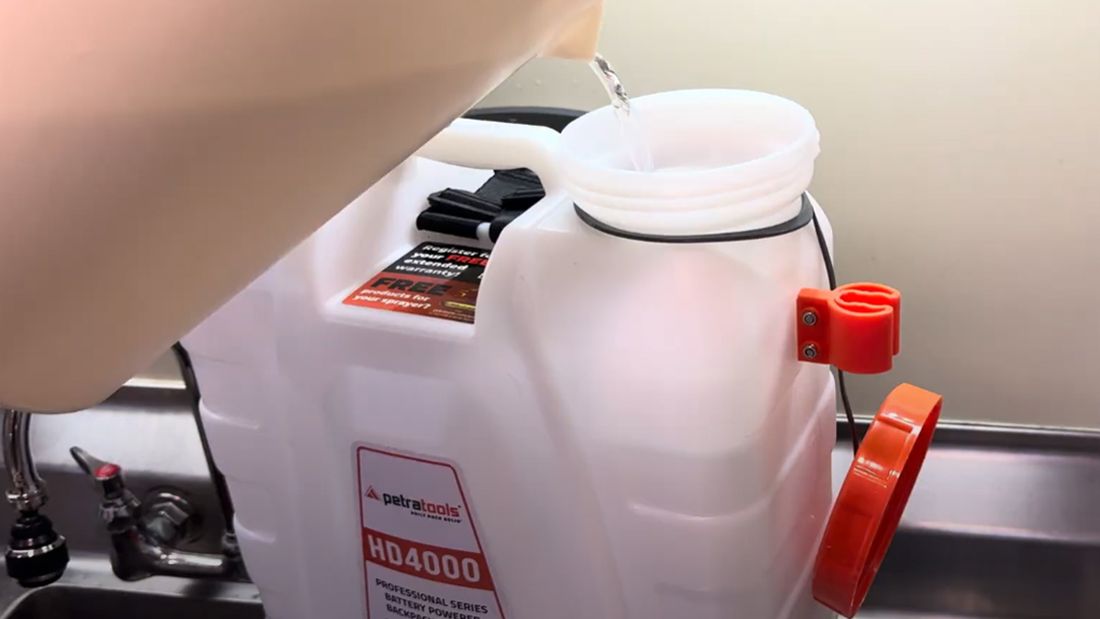
Step 2
Tighten the lid and turn on the unit.
Turn the red rocker switch to the ON position (O=Off).
The pump should engage immediately and build pressure. Squeeze the trigger to spray the soap solution through the unit. Ordinarily, spray begins in just a few seconds, but for the first use or the first use of the season, it may take several minutes.
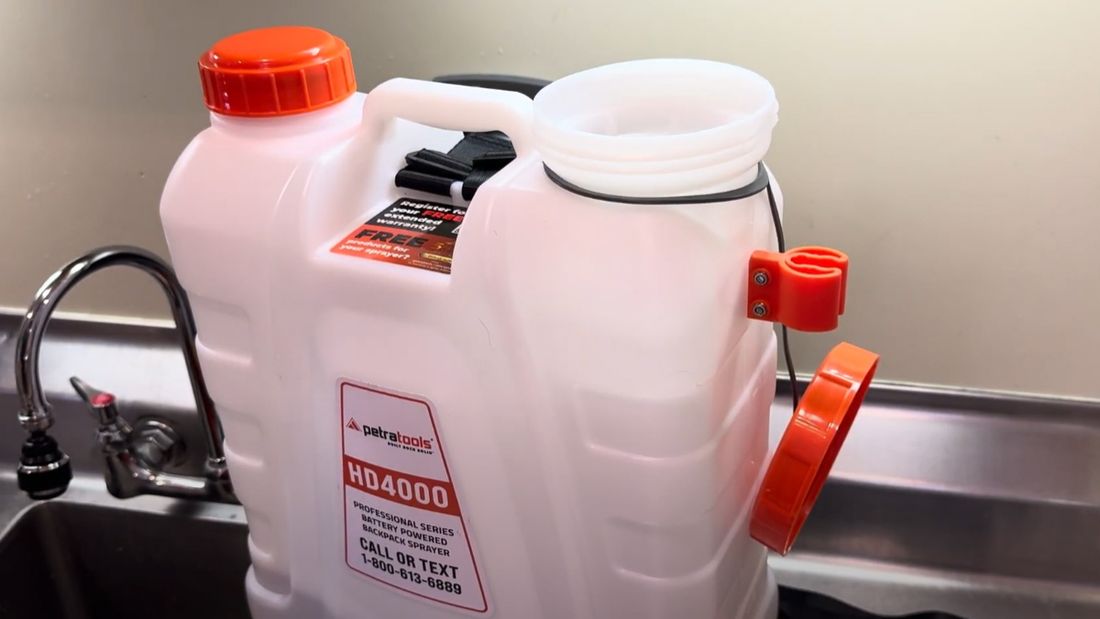
How to Attach the Wand Clips
Learn how to attach HD4000's wand clips in our video guide.

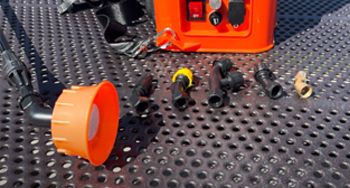
Nozzle Support Guide
Every HD4000 with Cart comes with six versatile nozzles to help you tackle your toughest spraying jobs. You can purchase additional nozzles at our website. Here’s what each of your new HD4000 nozzles can do:
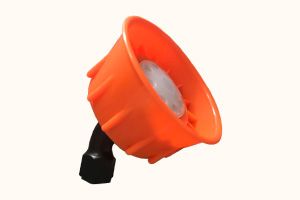
Orange Cone Nozzle
Can reach 8-10 feet with a soaking shower. You can also adjust it for a finer mist.
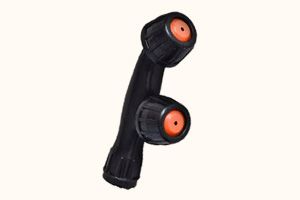
Double Misting Nozzle
Lets you cover a large area with a medium-fine mist. Perfect for watering young or delicate plants.
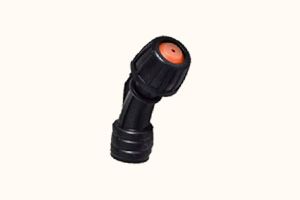
Single Misting Nozzle
Has a very fine mist, perfect for flower beds or indoor greenhouse plants.
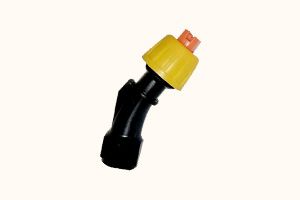
Yellow Flat Tip Nozzle
This delivers a nice, even, and wide fan of liquid which is perfect for green grass paint or mulch paint. If precise application of a solution is required, this nozzle is your best choice.
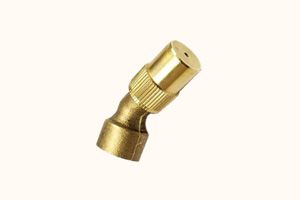
Brass Nozzle
This nozzle is like a garden hose, which you can adjust for a strong jet of liquid (over 20 feet).
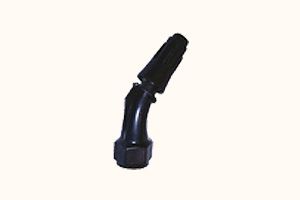
Black Single Nozzle
Works just like the brass nozzle but is better for caustic solutions. Perfect for a variety of applications, from fine mist up to a straight stream, with a twist of the nozzle.
How To Prepare your Sprayer for Winter Storage
Before you put your HD4000 with Cart away for the winter, there are a few things you should do to make sure it’s ready for next season.
Step 1
Run 1 gallon of warm water mixed with 1 teaspoon of liquid dish soap through the unit to clean all internal parts.
Empty the soap solution and then run 1 more gallon of warm water through. Spray until the unit, wand & hose are empty.
Step 2
For best results, fully charge your battery before storage.
Step 3
Store your sprayer in its original closed box if possible or cover it with a canvas or plastic tarp to protect it.
Please keep the unit stored in a location where the temperature remains above freezing.

GOLD CLUB.
Become a member of our Gold Club and get exclusive benefits only available to Members like extended warranties, free products, community access and more.
Explore furtherFREQUENTLY ASKED QUESTIONS
HOW DO I CONTACT YOU?
Our customer success team can be reached at 1-800-613-6889; 7 days a week.
Monday-Friday: 8 AM-12 MN EST
Saturday & Sunday: 9 AM-5 PM EST, or reach out to us via email at support@petratools.com
You agree to receive follow-up text messages and calls by calling or texting this number. If you no longer wish to receive text messages or calls, you may opt-out at any time by replying "STOP"
HOW LONG DOES IT TAKE TO DELIVER?
Orders typically ship within 2 business days and arrive 3-5 days after shipment.
WHERE ARE YOU LOCATED?
We are located in central Pennsylvania.
IS THERE A WARRANTY ON EACH ITEM?
PetraTools provides a standard 3-month full warranty for manufacturer defects. If customer registers for extended warranty, PetraTools provides an additional 3 months limited warranty. Limited warranty covers replacement units due to manufacturer defects (shipping paid by customer).
PetraTools sprayers are available for free returns for 30 days post-purchase. All other chemicals and solutions are not eligible for returns or exchanges at this time. Please contact Customer Service if you have received a damaged product so we can replace it for you.
Otherwise, we ask that you be kind to our planet and share any unwanted orders with a neighbor or friend.