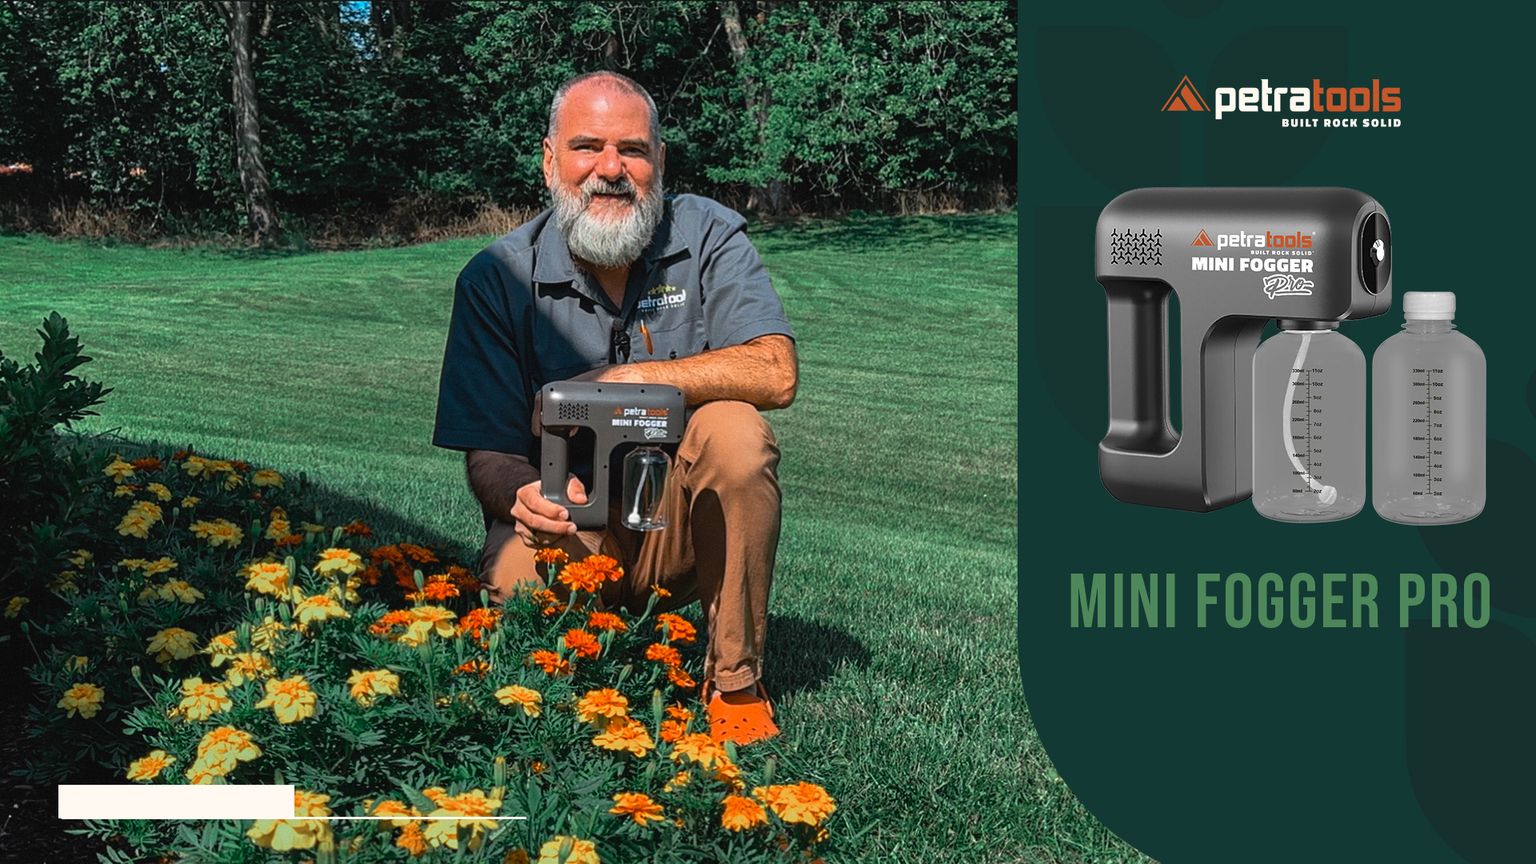
What’s In the Box?
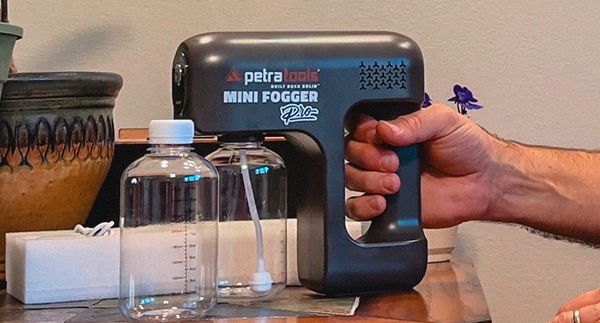
Mini Fogger Pro Pre-Assembled Unit
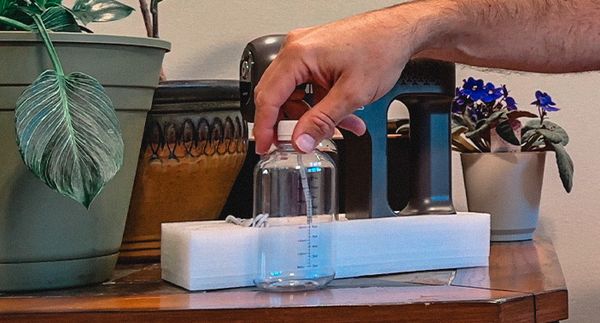
Extra Bottle
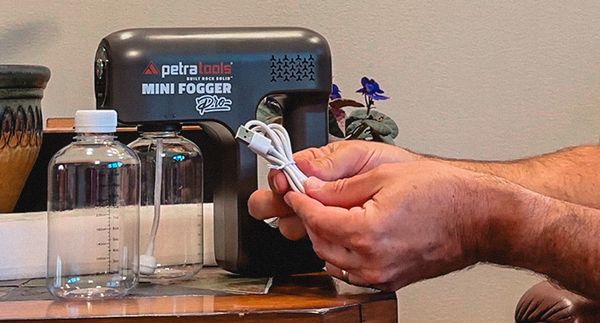
Charger
What Are the Parts of Mini Fogger Pro?
Achieve professional-level fogging with our all-new Mini Fogger Pro, featuring reliable and powerful components to enhance your fogging arsenal.
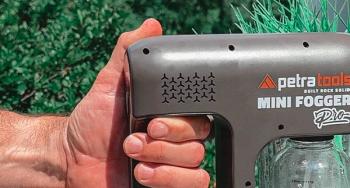
Cooling Window
The Cooling Window on the Mini Fogger Pro effectively dissipates heat, maintaining an ideal temperature for your vapor.
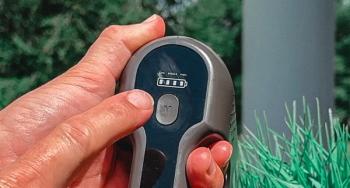
Mist Volume Indicator
Effortlessly monitor your desired fog density with this easy-to-read mist volume indicator.

Mist Volume Adjustable Button
Find the perfect mist level for any situation with a simple press of this adjustable button.
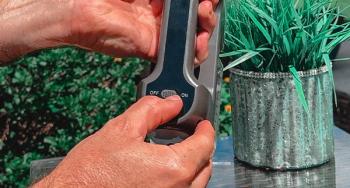
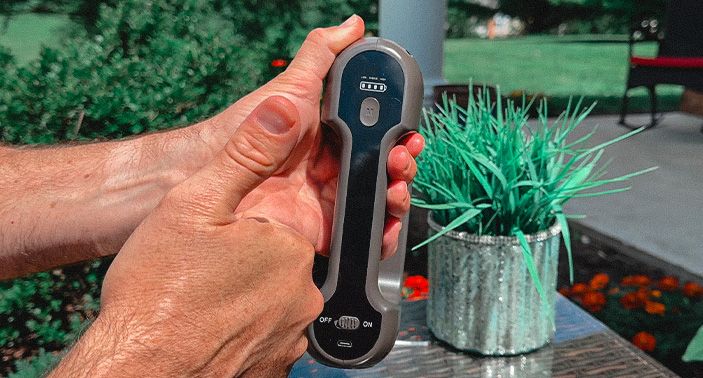
Power Switch
Activate your Mini Fogger Pro in a snap with this user-friendly power switch.
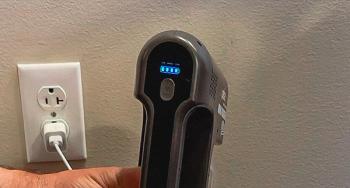
Battery Power Indicator
Stay informed on your device's battery life with this clear and convenient power indicator.
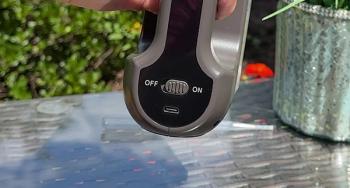
Charging Port
Refuel your Mini Fogger Pro with ease using the accessible charging port designed for hassle-free recharging.

Blue LED Light
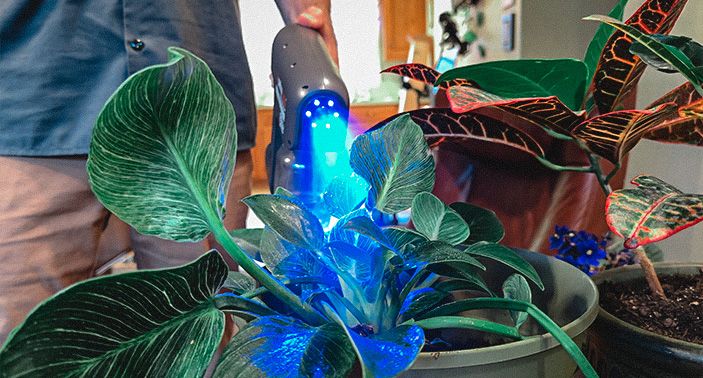
The blue LED light indicates the area where fluid is being sprayed.
How To Use the Mini Fogger Pro?
Step 1
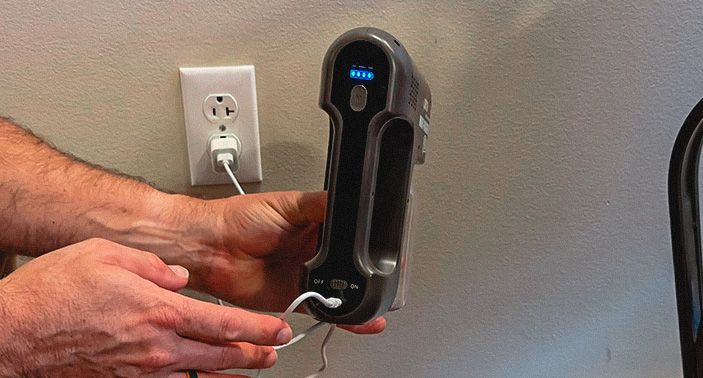
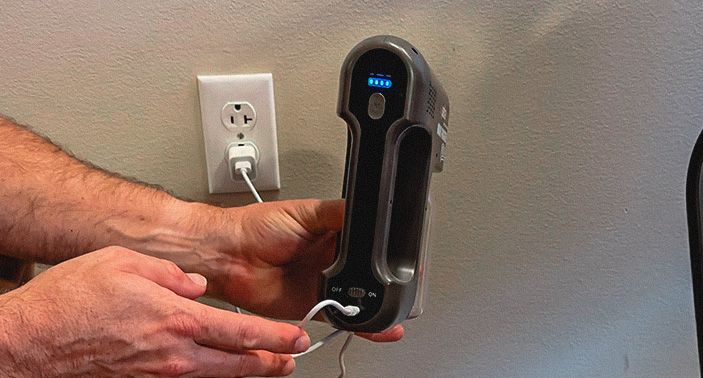
Charge the unit: If you have just received your Mini Fogger Pro, charge it for 6-8 hours to fully charge the lithium-ion battery.
Step 2
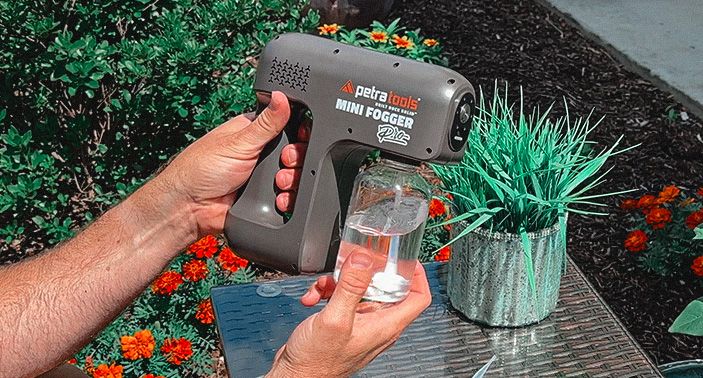
Fill the tank: Unscrew the clear plastic bottle and fill it with your preferred solution. Screw it tightly back onto the base of the unit.
Step 3
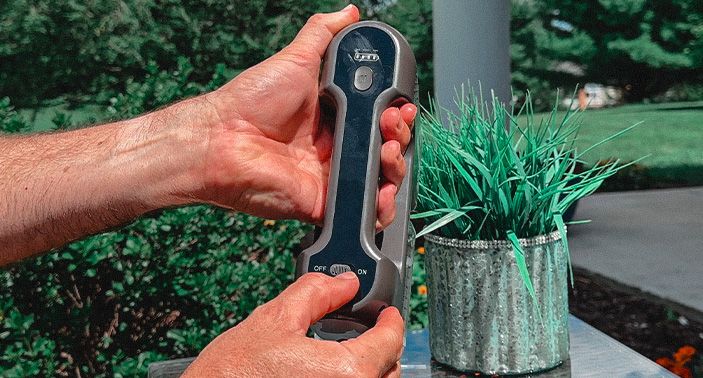
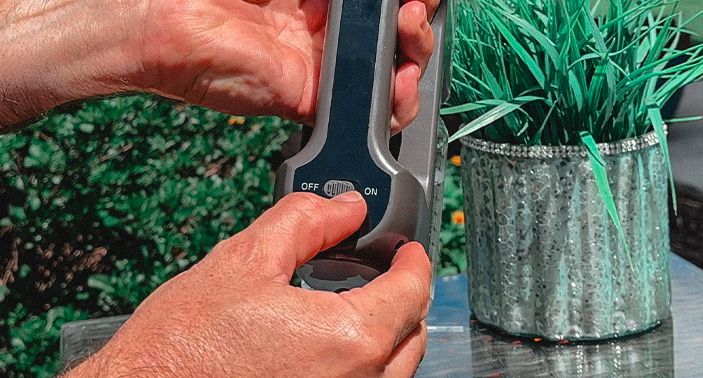
Power up: Locate the On/Off switch at the bottom back of the device. Slide the switch to the 'On' position and then press and hold the top 'M' button for 2 seconds to turn the unit on.
Step 4
Adjust the pressure: Choose from three different fog volume settings - low, medium, and high - by pressing the top 'M' button.
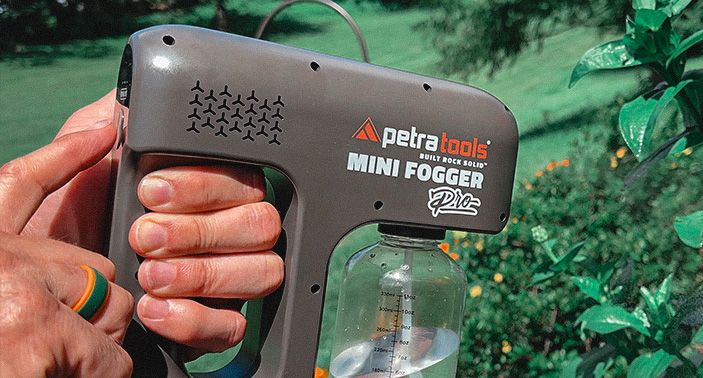
Step 5
Apply in a sweeping motion: The blue LED lights on the device indicate where the fog is being targeted. Apply the fog in a sweeping motion for complete coverage of your crop. To switch it off, double-tap the 'M' button.
Step 6
Power down: Move the bottom switch to the off position to turn off the Mini Fogger Pro.
Step 7
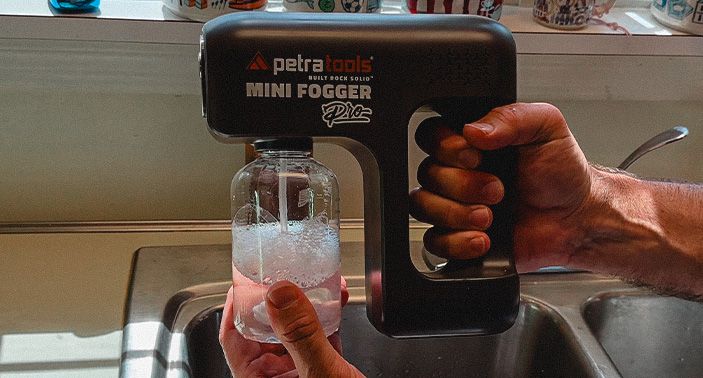
Maintain your unit: Empty any remaining solution and run warm soapy water through the device for 10 seconds. Follow this up with plain water to eliminate any soap residue. Regular maintenance helps to prevent clogging and ensures the longevity of your Mini Fogger Pro.
Troubleshooting Your Fogger
Check power source
Make sure that the Mini Fogger Pro is properly plugged in and receives power. Check the battery level and replace the batteries if necessary.
Inspect fluid level
Ensure that there is enough fluid in the Mini Fogger Pro's tank. If the fluid level is low, refill the tank.

Confirm the settings
Verify that Mini Fogger Pro's settings are correct for your needs. If the fog output is too low or too high, adjust the settings accordingly.
Contact us
If none of the above steps solve the issue, contact our customer service or technical support team for additional assistance.
How To Clean Your Fogger
Empty the remaining solution
First, ensure that you empty any leftover solution from the Mini Fogger Pro tank.
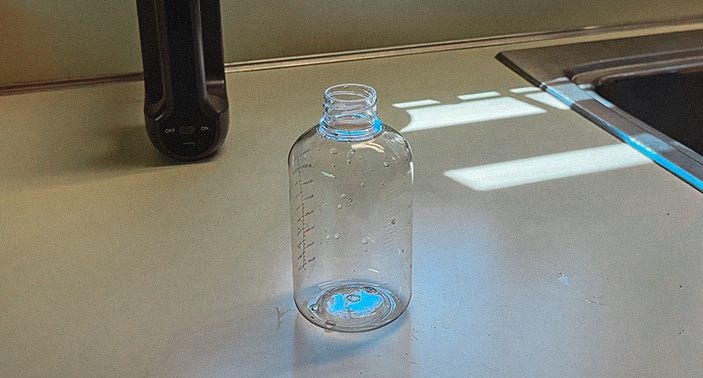
Run warm soapy water
Fill the tank with warm soapy water and run the Mini Fogger Pro for about 10 seconds. This step will clear out any debris that may have accumulated inside the device.

Rinse with plain water
After using the soapy water, fill the tank with plain water and run the Mini Fogger Pro again to flush out any remaining soap residue.
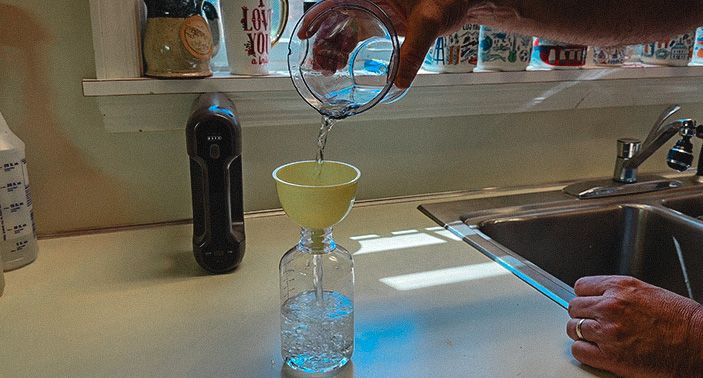
How To Prime the Pump
Fill the fluid tank
Fill the fluid tank with water and a drop of dishwashing soap to run through. Be sure to follow the manufacturer's instructions and not overfill the tank.
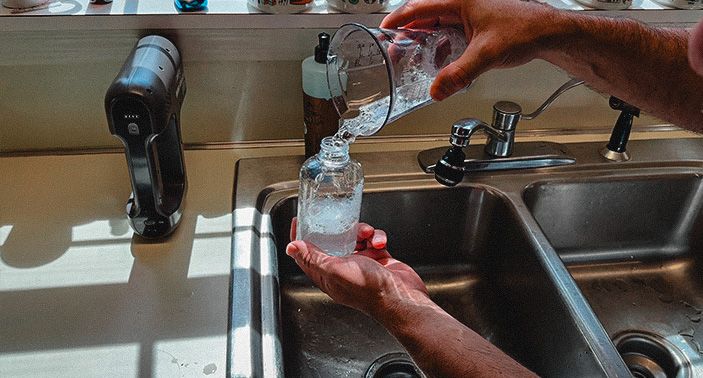
Allow to warm up
Turn on the Mini Fogger Pro and allow it to warm up for several minutes. This will give the fog fluid enough time to heat up and start to produce fog.
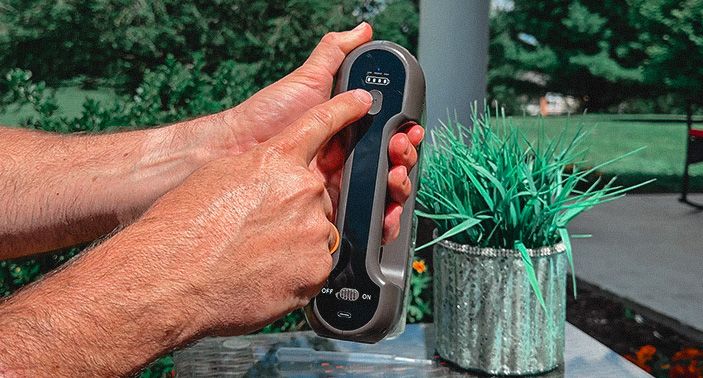
Prime the Fogger
To prime the Mini Fogger Pro, press and hold the "fog" button or switch for several seconds. This will force the water through the heating element, helping to clear any air bubbles or blockages.
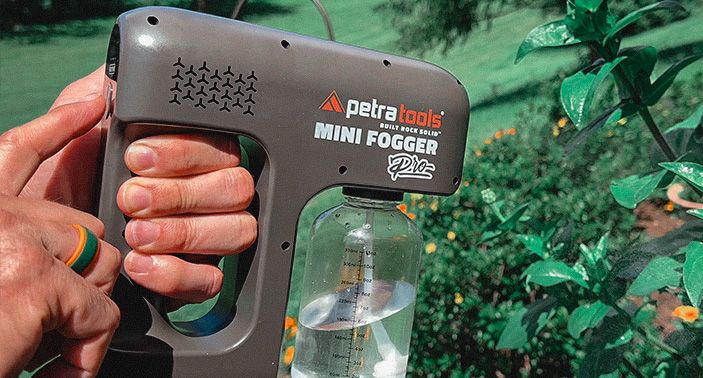

GOLD CLUB.
Become a member of our Gold Club and get exclusive benefits only available to Members like extended warranties, free products, community access and more.
Explore furtherFREQUENTLY ASKED QUESTIONS
HOW DO I CONTACT YOU?
Our customer success team can be reached at 1-800-613-6889; 7 days a week.
Monday-Friday: 8 AM-12 MN EST
Saturday & Sunday: 9 AM-5 PM EST, or reach out to us via email at support@petratools.com
You agree to receive follow-up text messages and calls by calling or texting this number. If you no longer wish to receive text messages or calls, you may opt-out at any time by replying "STOP"
HOW LONG DOES IT TAKE TO DELIVER?
Orders typically ship within 2 business days and arrive 3-5 days after shipment.
WHERE ARE YOU LOCATED?
We are located in central Pennsylvania.
IS THERE A WARRANTY ON EACH ITEM?
PetraTools provides a standard 3-month full warranty for manufacturer defects. If customer registers for extended warranty, PetraTools provides an additional 3 months limited warranty. Limited warranty covers replacement units due to manufacturer defects (shipping paid by customer).
PetraTools sprayers are available for free returns for 30 days post-purchase. All other chemicals and solutions are not eligible for returns or exchanges at this time. Please contact Customer Service if you have received a damaged product so we can replace it for you.
Otherwise, we ask that you be kind to our planet and share any unwanted orders with a neighbor or friend.
